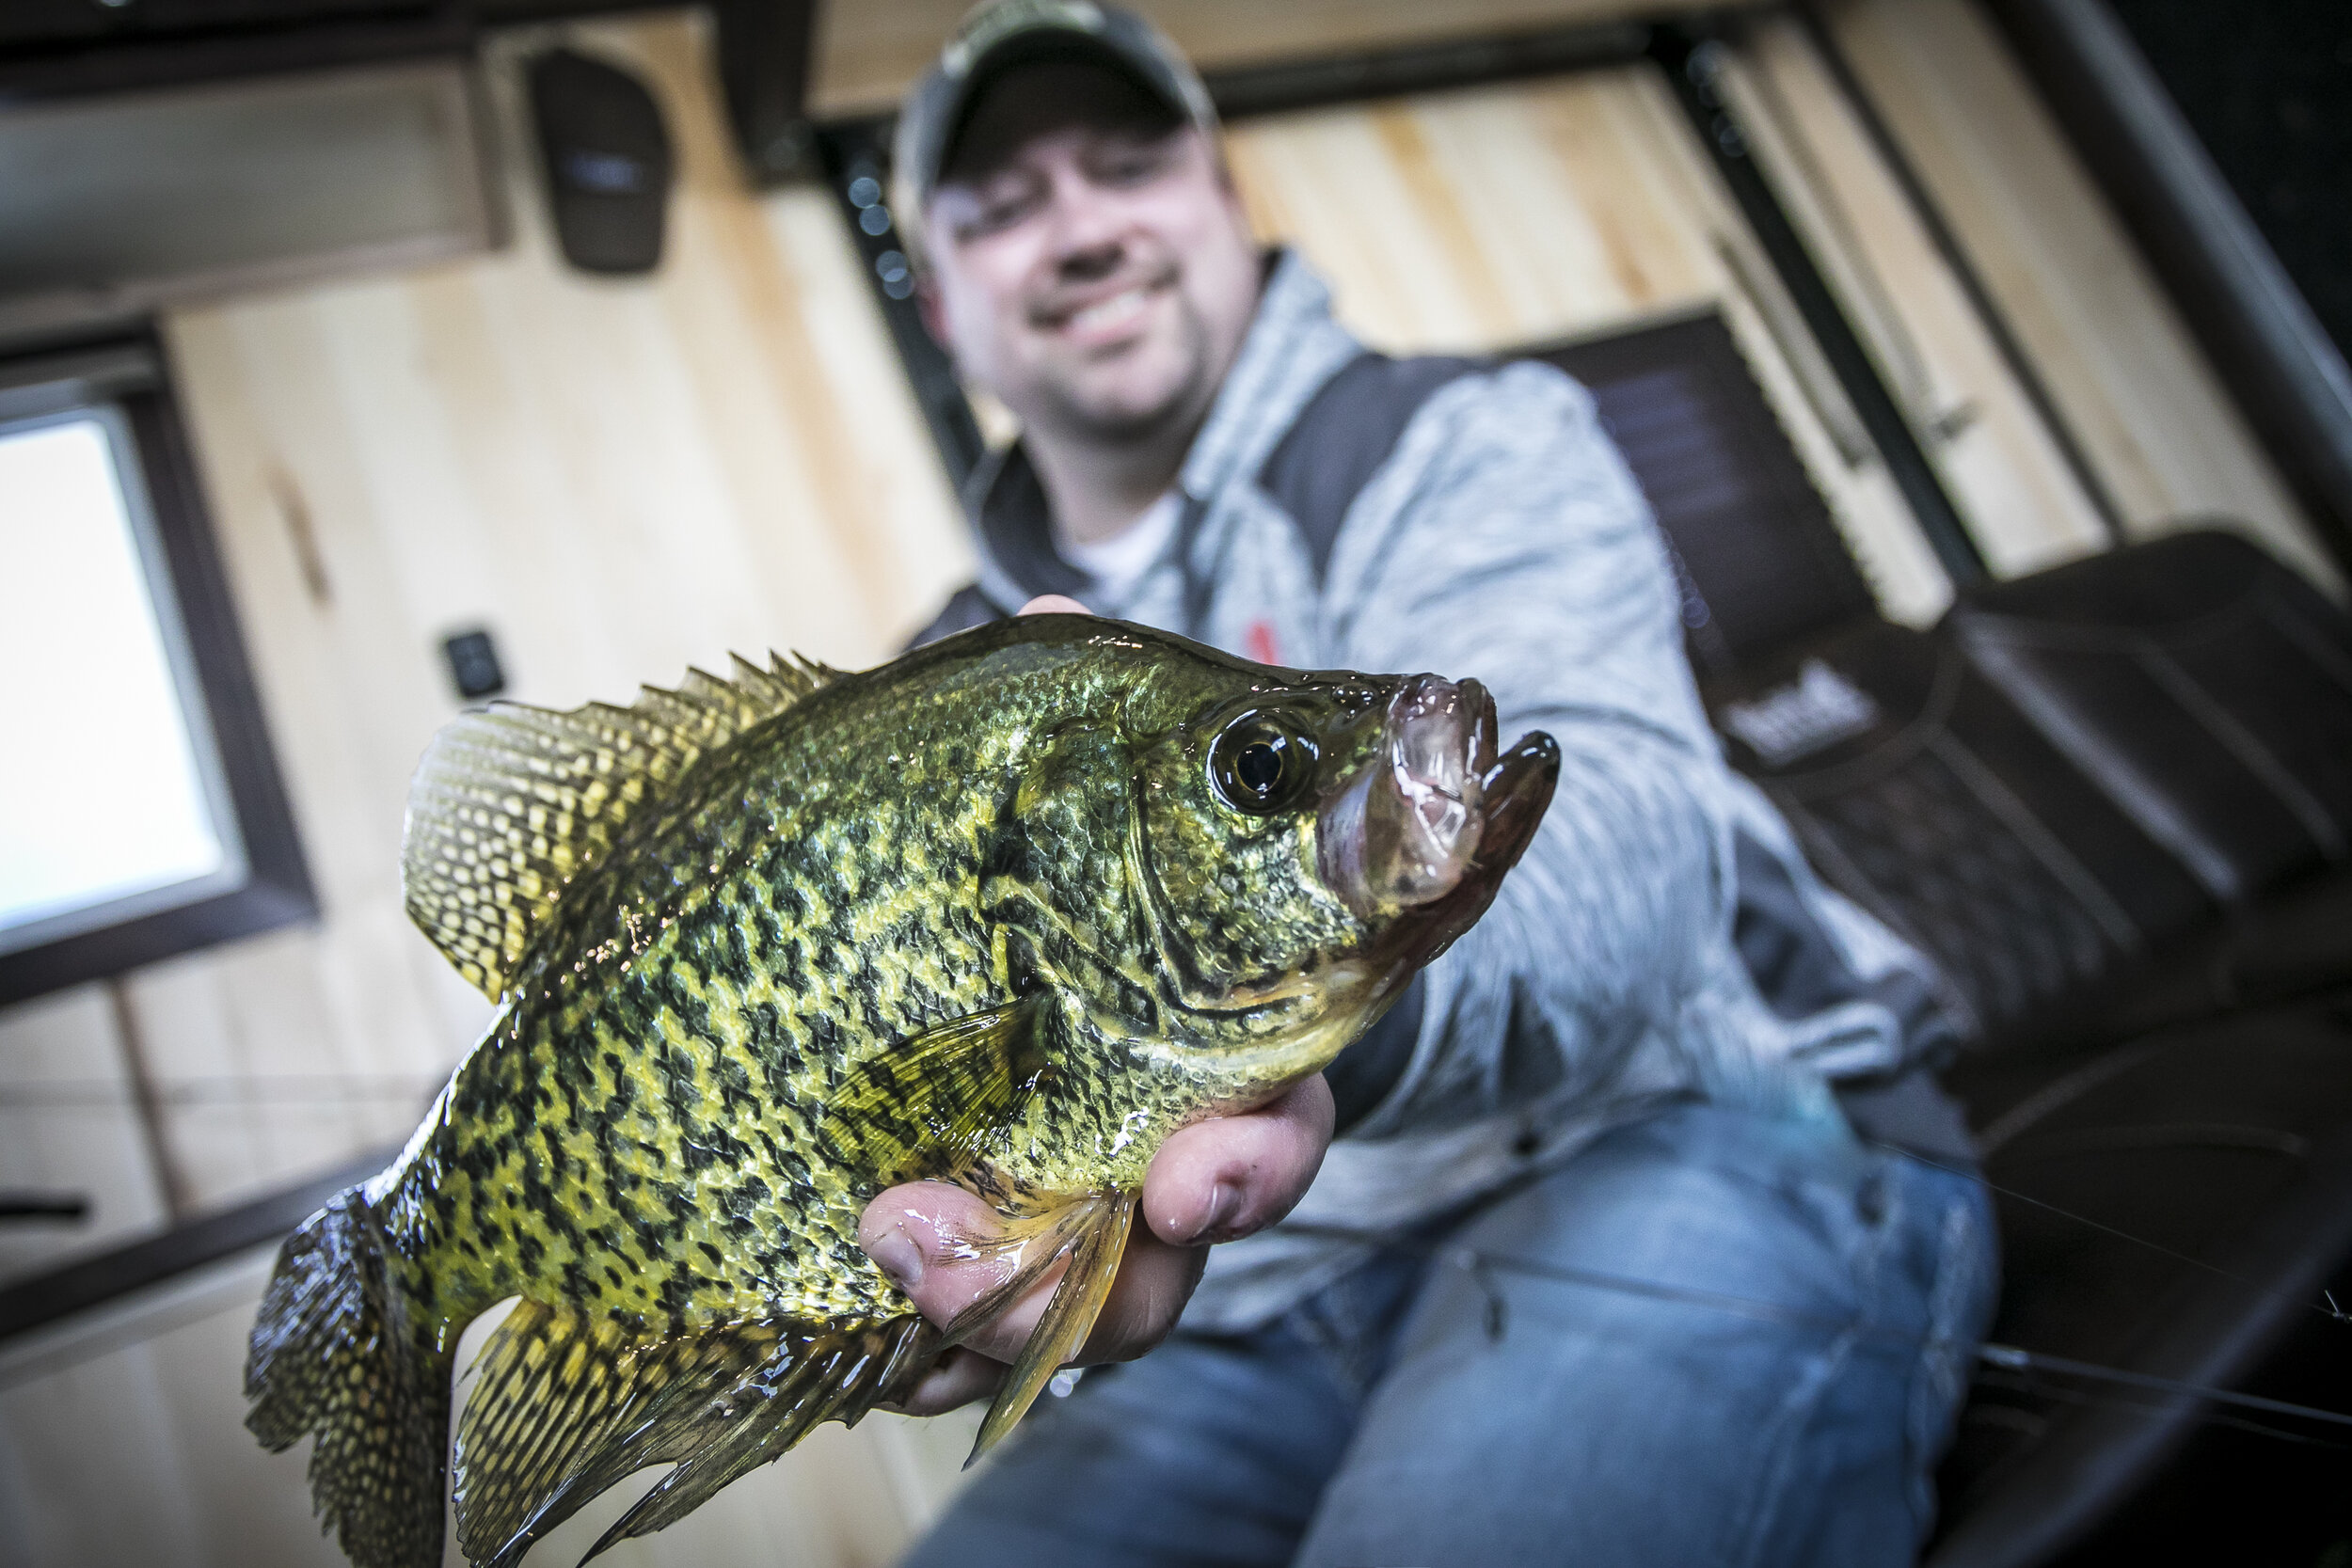
Mid-Winter Panfish Tips

GrandRapids162-0702.jpg

It’s getting harder out there.  Both to find fish and especially to catch them as we get deeper into winter.  Most anglers have graduated from boot-traffic to wheeled transport of many kinds, which dramatically changes the winter fish-scape.  Overhead noise and pressure can relocate fish, but it’s also important to note that pressure can take them directly from the lake.  That’s why for mid-winter, you need a few more tricks up your sleeve to keep the bite going.

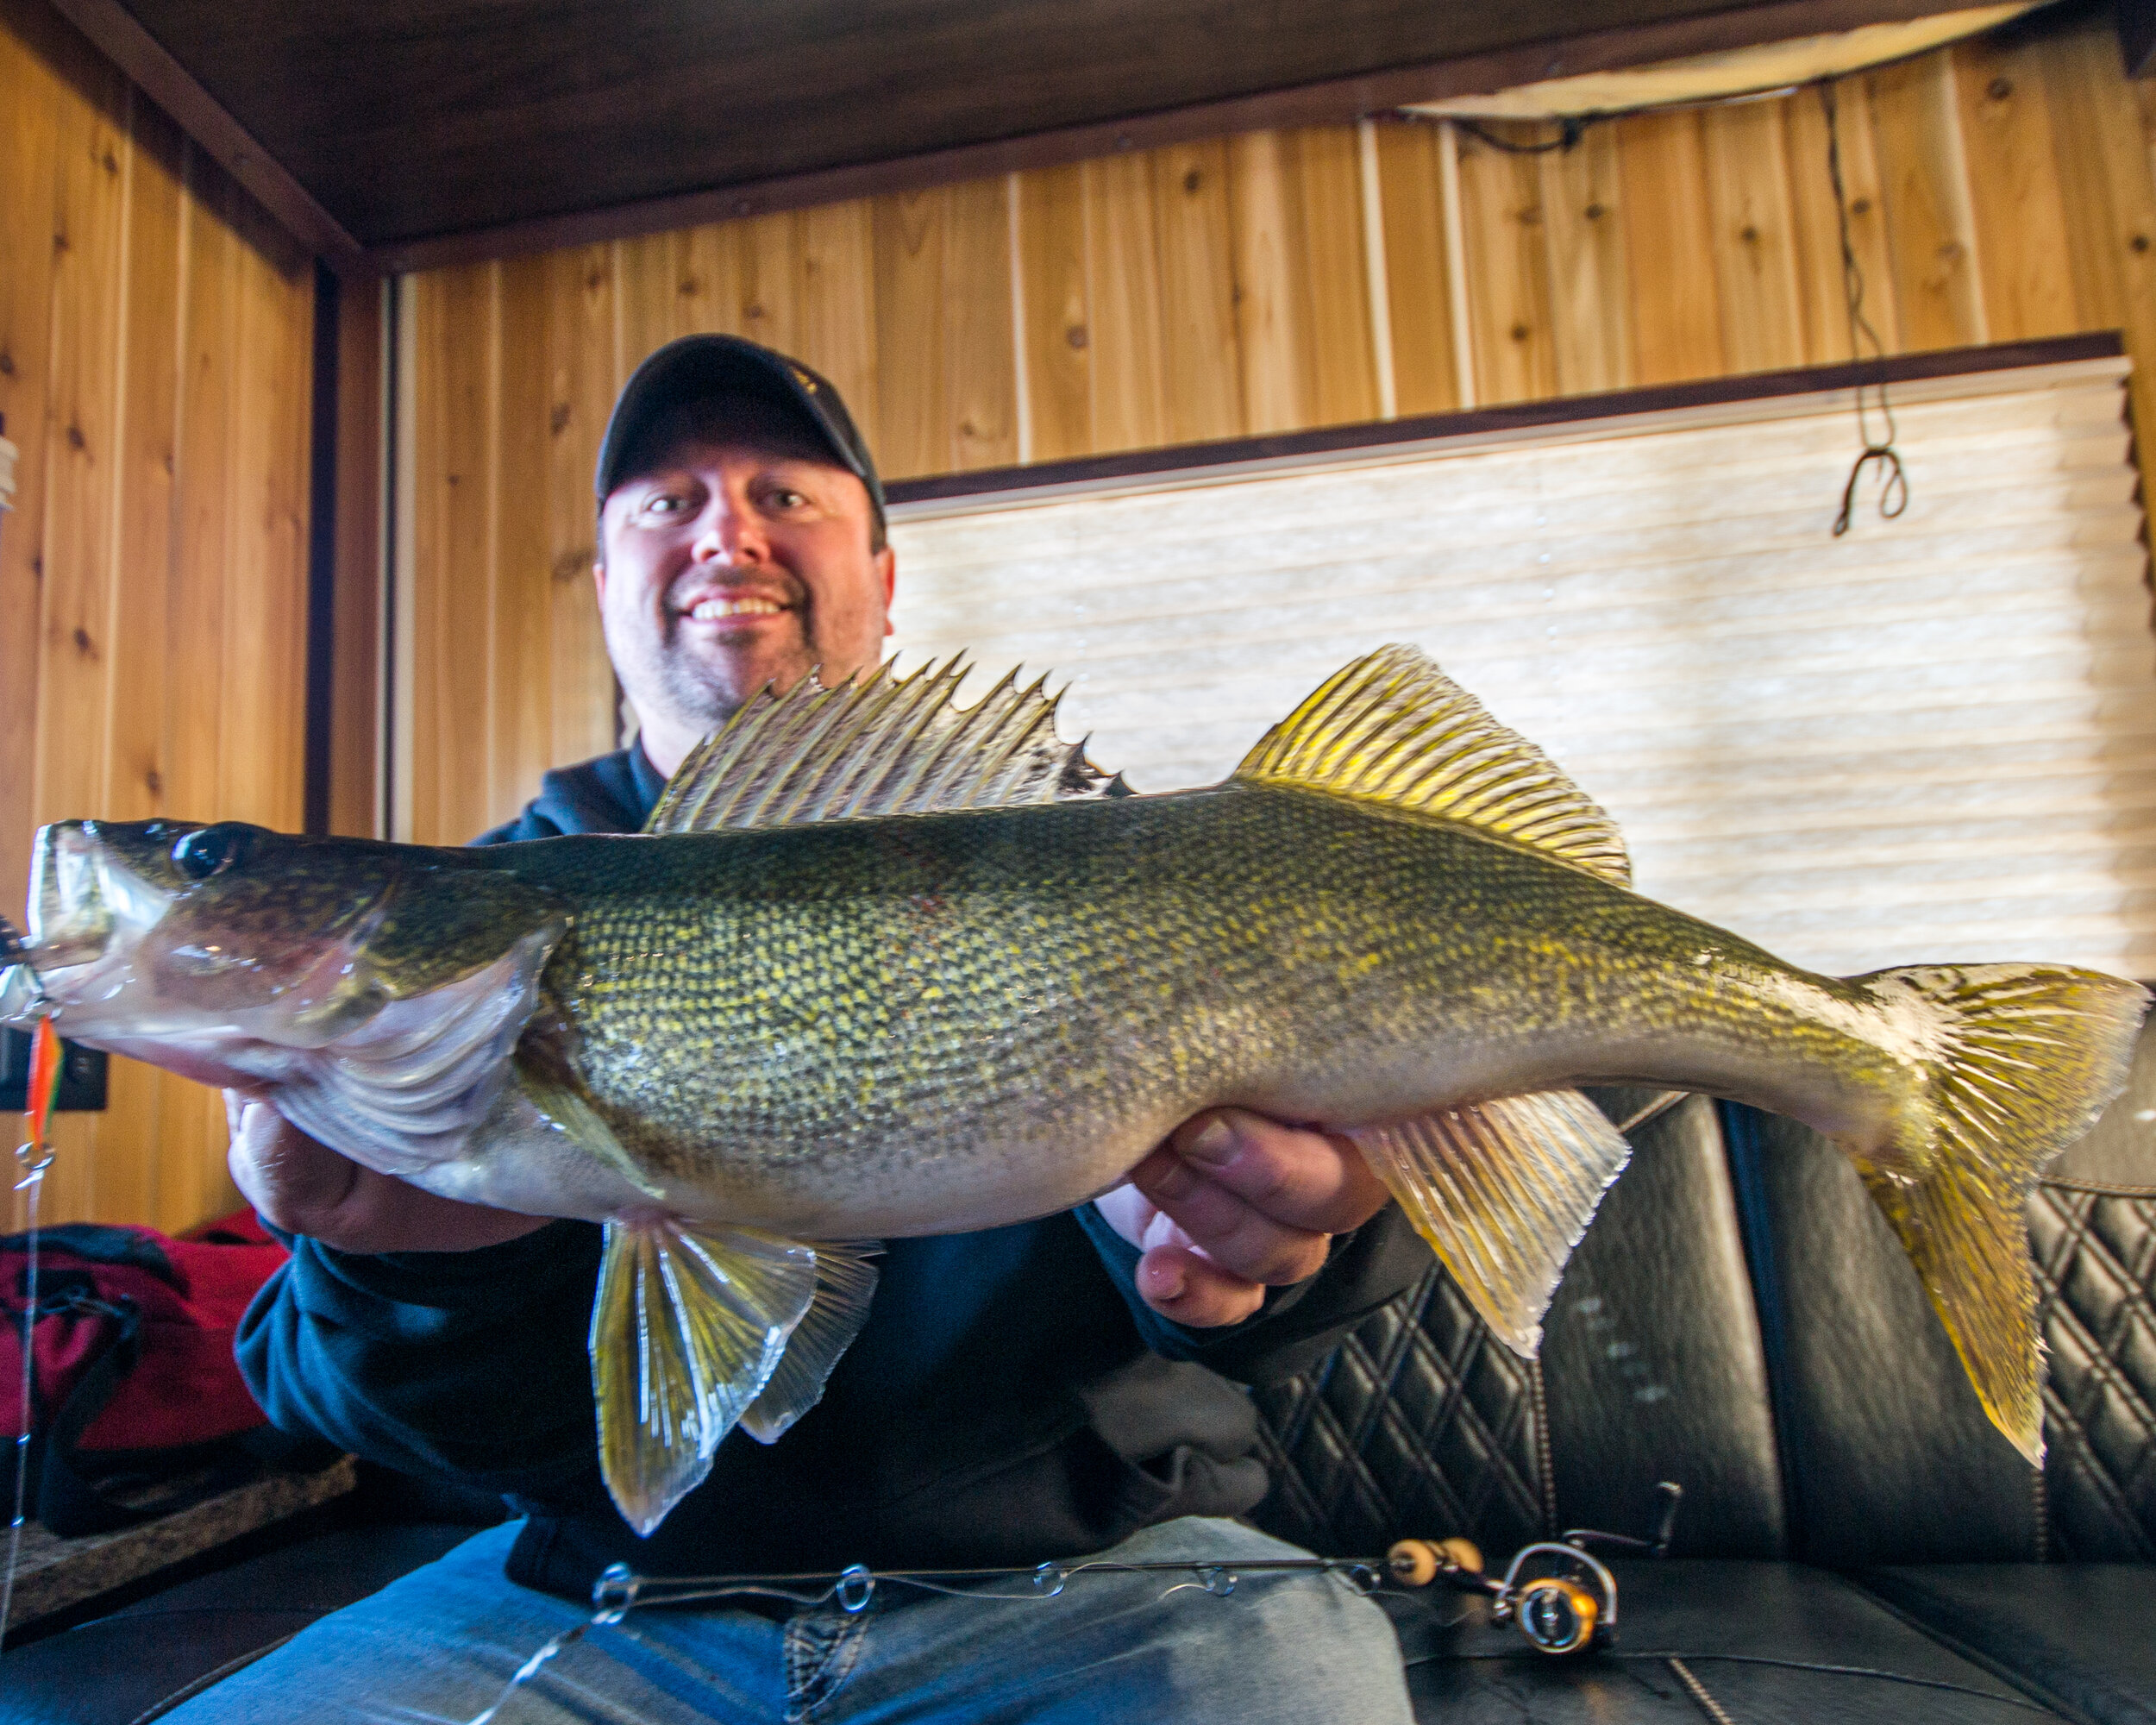
Community Hole Edges – It is inevitable that you’ll often be forced to fish in areas where other people are.  Lots of folks know to fish the edges of the community spots, but you can be strategic about which edge based on ice traffic patterns.  Usually, the access-side of a community hole sees the most on-ice traffic, so I will seek the back-side of a group.  I’ll also be ready to relocate should a few groups be making constant noise or otherwise disturbing fish, especially in shallow water.  For gills, I’d rather go shallower than the rest of the group to escape pressure, and in most instances for crappies I’d rather go deeper – all else being equal.

Fish Secondary Structure or Cover – Now is the time to find fish on less-than-fishy looking spots.  That can be a sand-flat surrounded by mud bottom you side-imaged during the summer, or a secondary point at the base of a big main-lake one which is getting less attention.  I also like fishing weeds during this time of the year, as you can find weeds in lots of places and don’t have to concentrate on only a few areas in the lake where people are colonizing.

Be Organized – Bite windows are the name of the game come mid-winter, with fish feeding at times in only 15-30 minute intervals.  It’s imperative that you have multiple rods rigged, with different baits tied on and at the ready.  Drop on the same fish with different baits until you find the winning combination.  I like to have an attractor style spoon like a Forage minnow, then a horizontal presentation like the Forage Minnow Fry, to something that hangs a little more vertical, like the Tungsten Punch Fly.  Have plastics and bait handy and at the ready and be ready to focus.  If you break off, tangle, or otherwise can’t drop on the school, abandon that setup for another and fix the mess later.

Travel to Fish – Mid-winter is the perfect time to explore new bodies of water and hit trophy destinations.  The bite can be challenging on famous lakes too but can be comparatively better than what’s going on in your backyard.  Even if you strike out, I’m reminded that every trip like that makes you a better angler in the long run.

Use Your Camera More – Underwater viewing has changed the way we fish, perhaps more than any other technology to date.  From the use of swivels and inline reels, to learning the importance of green weeds and fish behavior within them, owning and using one simply means learning more.  On certain panfish bites, especially midwinter, using one can mean catching more fish.  I can think of more than a few finicky perch and crappie bites where seeing the fish inhale the bait every so subtly, as the only way to convert hooksets.  Of course, if fish seem camera shy or won’t approach, you can always just use the camera to learn more about the substrate, cover, and surrounding area.

Patience Can Be Your Best Play – In today’s world of Livescope, lightweight lithium augers, and enhanced outerwear, it’s easier and more comfortable than ever to go right to the fish and keep after them.  During midwinter, while it always helps to be near fish, sometimes there’s no substitute for waiting them out and fishing quietly.  That includes deadsticks for panfish and zero-jigging techniques, live-bait, and a steady approach to staying near fish without swiss-cheesing the lake and pushing them all around.  Pick your spots, ensure there’s fish there, and fish silently through a feeding window to see if staying put might outproduce running around.      

It's hard to emphasize this point enough, especially for bluegills.  While crappies tend to tolerate pressure and fast fishing a bit better, big gills are a tough customer come midwinter.  Last week I was on some shallow water fish who spooked when an ATV came within 50 yards.  Bass swam through quickly during those scenarios as well.  An underwater camera was crucial to have the patience to read these fish, jig quietly, and let them come to us.  Had I been punching holes all over, it’s clear that at least for these fish on the lake I was fishing, all I would’ve been doing was herding them elsewhere.

 

Hub Shelters - Not Just for Fishing Anymore

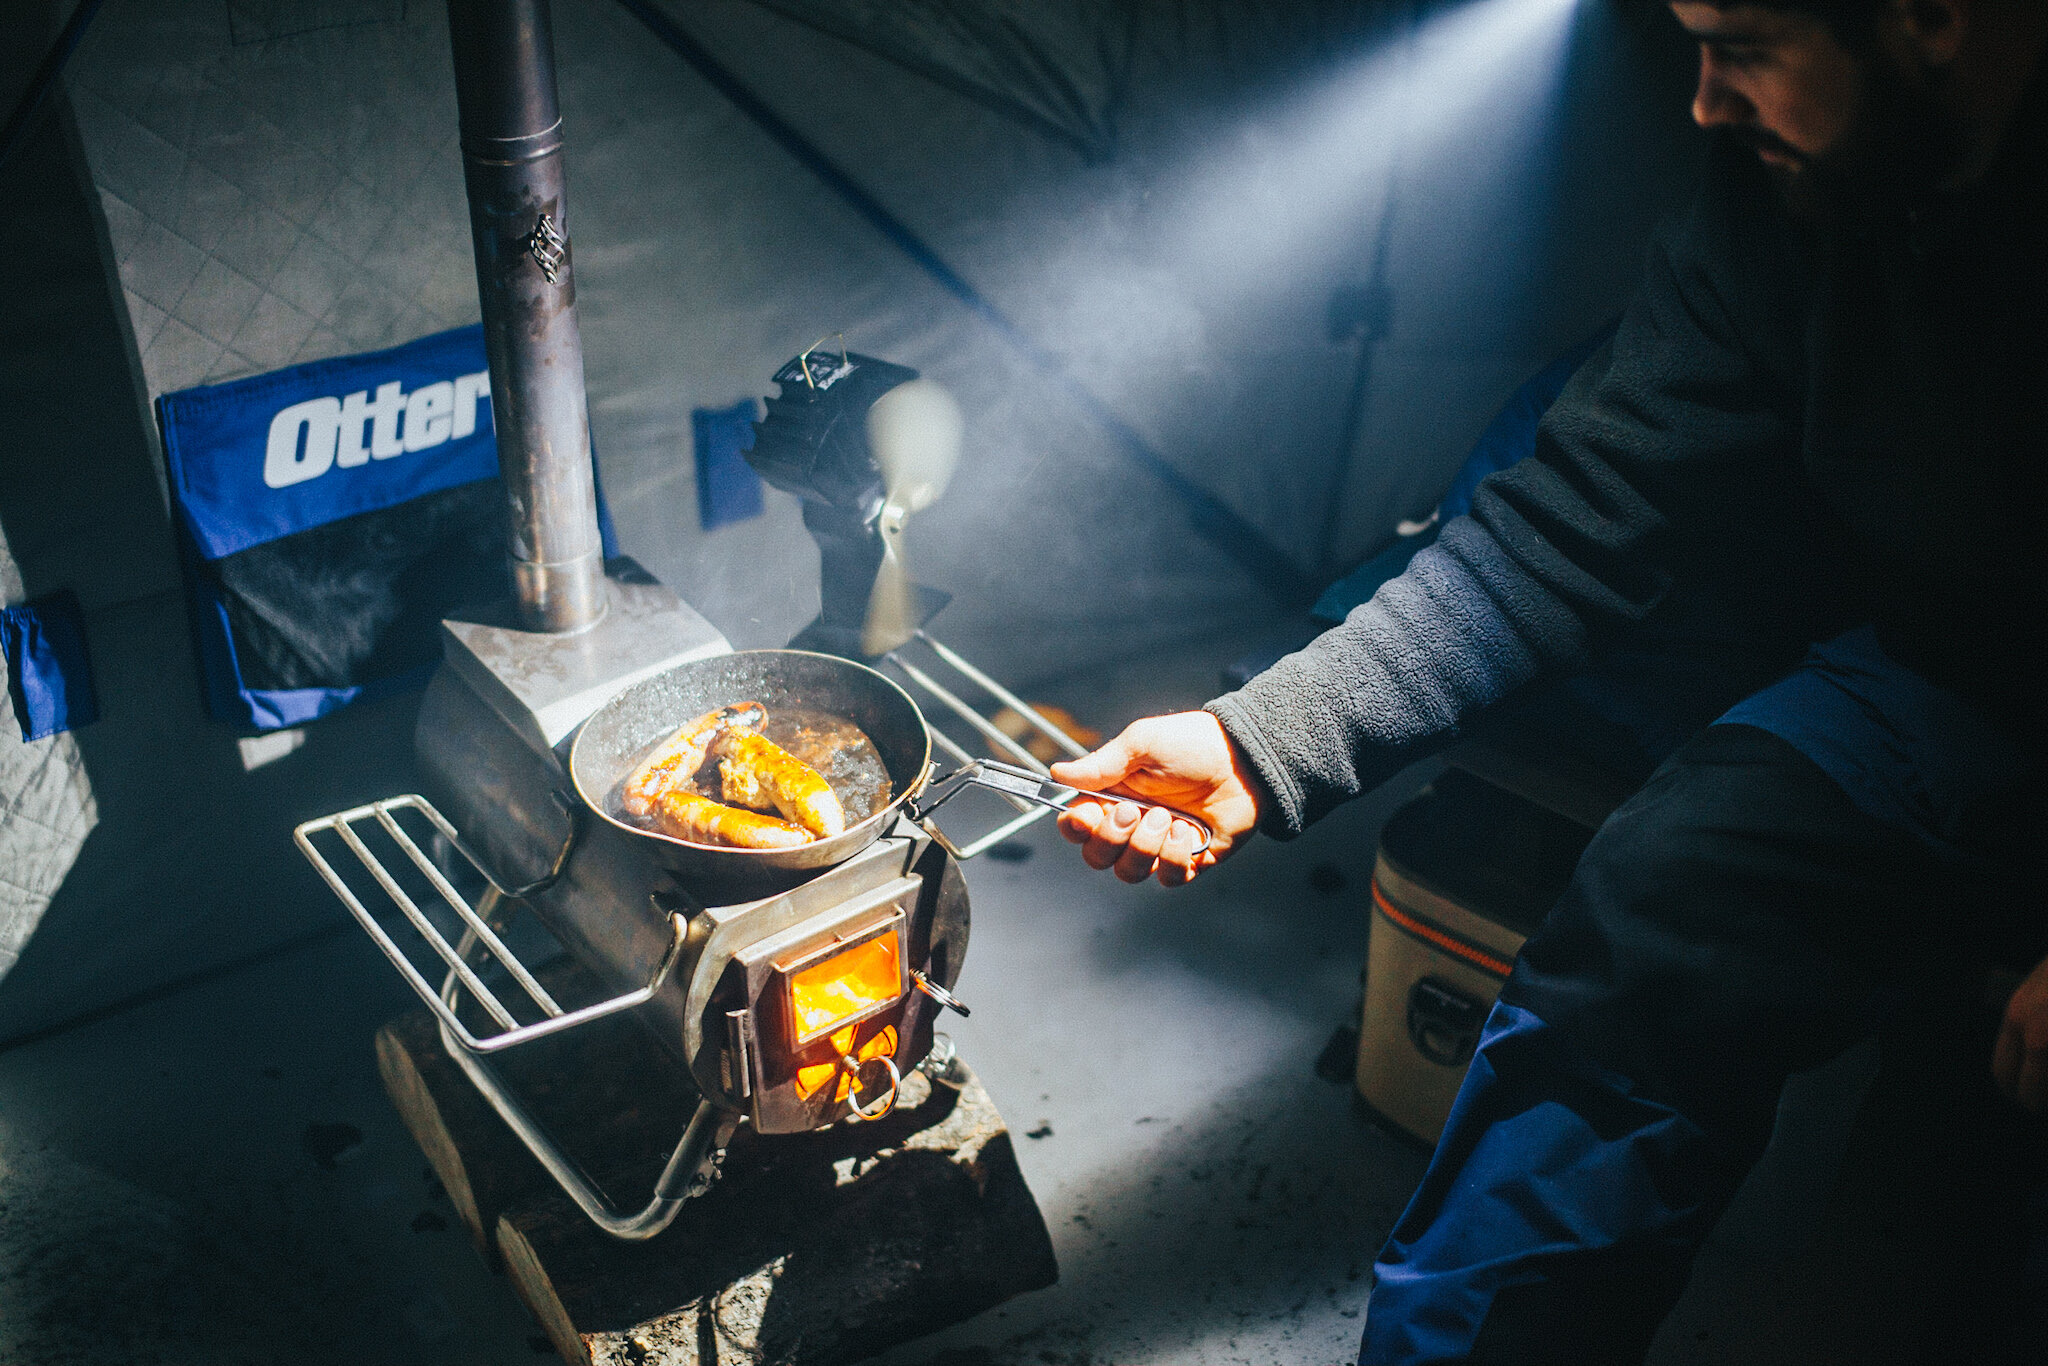
From food prep tent to full-on ice camping shelter, hubs do alot more than just fish these days.

From food prep tent to full-on ice camping shelter, hubs do alot more than just fish these days.

My first hub shelter was actually a turkey hunting blind.  I’ve been a fan of them ever since trying to sneak up on a turkey with a bow and arrow.  Try as you may, without the perfect screening cover, even when the bird does exactly as you wish, rarely can you draw your bow and release an arrow.  At least with fish you don’t have to worry much about concealment.  I digress.

From an ice angling perspective, they’re better than the Double-Bull hunting blind I carried onto the ice nearly 20 years ago.  For one, the fabric is better, and in most cases, completely insulated.  It repels water rather than inviting it, and is custom designed for the ice experience.  Many manufacturers have hub fabrics with sewn-in strap pockets, rod holders, and gear compartments; even overhead netting, holes to run a propane hose through, and reflective patches for easy avoidance on ice.  Truly, a far cry from the basic hub-style hunting blinds of old.

They come in oversized bags for easy in-and-out, and ice-anchors are standard issue, rather than an add-on.  Some modern ice fishing hubs even have ice-lock anchoring systems to keep your shelter glued to the ice in the fiercest winds, along with guide-wire-style straps on all corners to help do the same.  Window systems stand up to the cold weather, to either view-through in search of a tip up flag, or remove completely during nice weather or to vent. 

Ice anglers have flocked to them in droves for the amazing space they afford an angler, both while inside-of and fishing, as well as when packed away in the bed of a truck or car-trunk.  Which makes them nice for an after-work fish, as they don’t take up much room.  It also makes them nice to drag out in a sled, with or without an ATV or snowmobile.  You can use them to sit on a pod of basin crappies, or put it up shallow and use as a spear-shack because you can effectively seal up the windows and prevent light from getting in.  Did I mention they were lightweight and rather cost effective?  Both points make them increasingly popular across the ice belt.    

Yet, with all of these ice-specific advances, it’s amazing how versatile hubs really are outside of ice fishing.  Personally speaking, even when towing my wheelhouse, I’m never without a hub shelter, as there are simply dozens of use-cases.  In the few years I’ve used them in tandem, the hub shelter has been a scout house, card-room, kids escape from the grownups, adults escape from the kids, and so much more.

I’ve cleaned and cooked fish inside of a hub on ice as well, which is a godsend when you don’t want a cooked oil smell inside the wheelhouse, yet it’s too cold or windy outside to effectively cook.  Lots of people comment on using them as an out-house, which is a logical use, but if that’s all its there for, you’re missing out on several ways to get the most out of these things.

In extreme cold, it’s the perfect place to start a heater and thaw all kinds of items.  From frozen generators, gloves, hats, and facemasks, all the way to frozen tanks of propane.  It’s also a place to run a tip-up when exceedingly cold, provided you have an alarm or flashing bite indicator.  I mentioned generators, and as it turns out, a hub is the perfect place to run your generator overnight in extreme temperatures.  Exhaust can ice-up and freeze-out your overnight power source if out in the open, but with a slight venting, the heat from the engine and exhaust allows your generator to run all night without ever skipping a beat. 

Perhaps the fastest growing use-case for hub shelters is winter camping.  A quick search on the internet, and you’ll find Facebook groups devoted to it.  There’s great advice out there on how to add portable flooring, cots, and other camping comforts to make your experience that much better.  Just like with fishing, they’re easy to pack-in, extremely spacious and warm given their insulation, and again, very cost-effective considering what you get for your money.  Effectively, it’s a winter-tent that sets up quickly and can be used in tent-sites and hunting camps alike.  Which is exactly what I’m seeing more of when I look at photos of out-west elk outposts, spring turkey hunting camps, or fall bowhunting setups. 

I’ve seen them used as ice-rink warming houses, and even on sidelines of high-school football games.  I’m continually amazed to see the varied ways people use these while fishing and doing a host of other activities.  I’ve steered friends away from much more expensive ice shelter purchases, because a hub may fit their needs better.  You just might find that like them, you use it as much for other things as you do the fishing.    

Whether fishing or not, my kids like just having a shelter to themselves.  It’s their place for time away from the grown ups.

Whether fishing or not, my kids like just having a shelter to themselves. It’s their place for time away from the grown ups.

Wheelhouses - Off the Beaten Path

redlake2020-22.jpg

If you own a mobile semi-permanent ice shelter of any kind, this winter you’ll likely face a familiar conundrum each time you setup on your favorite lake.  Where to put it?  Or, from another perspective, how far off the beaten path dare I go?  It’s a tough question with a variety of solutions, and sometimes none, depending on the ice conditions, snow depth, tow vehicle, and a host of other considerations. 

Ask a resort owner, plow truck driver, or avid ice angler about traffic patterns on their favorite water body, and they’ll give you similar answers.  People and pressure follow a predictable path.  First from the public accesses on early ice and popular resorts if they exist where you fish, out to the shallow shoreline breaks and eventually further and further to off-shore structure more mid-lake.  Community holes setup in familiar locations year-over-year, until fishing gets tougher in them, which is when people start fishing edges and get a bit more spread out again.  Hot bites pop-up here and there, villages relocate, only to be broken up and move again the following weekend.

As anglers, I think we’re programmed to a “grass is greener” mentality, which is often true when it comes to the fishing, yet rarely goes unpunished by the lake gods.  Just this weekend I was on Upper Red Lake, lamenting lake traffic that eventually started moving right past my wheelhouse in greater and greater frequency.  I’ve written about truck traffic before, and the effect I’ve observed on underwater cameras with real fish before.  Now put that on 10 FOW with thousands of trucks and wheelhouses, and the effect is multiplied.

After a reasonable evening fish, I decided to head to some open ice, much to the dismay of my quite comfortable family.  Thank goodness for good friends who nearly got stuck themselves yanking me out of a snow-drift.  Yet, I feel quite strongly that had I made the corner, we would’ve been more successful a quarter-mile away from the nearest shelter, rather than just 100 yards.  Super slick ice underneath only moderate snow was the culprit this time, and despite shovels and straps, I was stuck nonetheless.  New tire chains are on their way as we speak. 

It’s important to note that most larger wheelhouse wheelbases travel outside of your tow vehicle’s, meaning you’re dragging that trailer through new snow you haven’t packed down yet.  High-centering on packed snow then is the real killer, even if you’ve built up speed, making it imperative that you’ve got your trailer tongue height set appropriately to minimize un-evenness or spots where the trailer will catch on the snow.  You’ll still likely need a good shovel or two, a tow-strap, maybe even chains, but smart trailer setup will make travel both on road and off that much easier.

So will using your truck’s equipment and features to the best of its potential.  Good tires are worth their weight in gold, and there’s plenty of space on the internet devoted to opinions on which are best.  That said, out on the open ice, good tires won’t help you if you’re not using your 4WD, with any automatic traction control “off,” and differential lock “on” if you have it.  When stuck, switching to a 4WDL for “LOW” can benefit you by keeping the wheels from immediately spinning fast on slick ice too. 

Speed is your friend but also your enemy.  You need it to maintain momentum and carry you through tight spots, but even if you get through a big drift with your truck, the trailer usually gets hung up on it.  Which means you’re usually not just stuck, but you’re really stuck.  So, reading the snow and ice then is of primary importance, such that you never hit that big drift.  Good sunglasses and traveling during good light out on the open ice is imperative for getting off-trail without getting stuck.      

Driving patterns are important too.  Just like it’s easier to pull a logging chain straight through the brush than around a corner, your wheelhouse wants to go straight too.  Most times when you do get stuck, it’s when executing a turn.  Turns are inevitable, though you can make them gradually.  When I find a patch of open ice I want to settle on, I start a slight, tear-drop shaped driving pattern where I use the truck and wheelhouse to pack-down the snow for a few passes in what gradually becomes a really large circle.  I settle on the backside of the curve, after I’ve made the turn and have straightened out.  That ensures when I go to pull out the wheelhouse, I won’t have to make a sharp corner, and that freshly broken snow resets and gets harder for the next day. 

Eventually, snow depth limits lake travel to main roads and that’s when it gets dicey as a wheelhouse owner.  That’s where people crowd onto roads and bad decisions get made.  At this point in the season, it’s worth knowing a buddy with a plow, owning one yourself, or paying a resort to plow you in and out.  Not only are you more likely to have a decent spot to yourself, but you’ve also got some help on reserve if you need it.  You’ll have to be flexible with their schedule, and certainly pay them well for their efforts, but I’ve found it to be worth it when snow depths prohibit off-trail travel.

Be smart out there.  Come prepared with a tool kit when you can, and travel in groups if possible.  Many hands make for light work when you’re stuck and expect it to happen now and again.  Learning how to get unstuck is part of the process, and it’s nice to both get help and give it.  If you see someone buried without help, and you can lend a hand without getting stuck yourself, it’s usually worth it from my experience.  After this past weekend of taking more from the jar than putting back in, I owe it to more than a few of you.  See you on the ice.      

20201231_165201.jpg

Fishing With Kids - Striking the Right Balance

billy_wilson.jpg

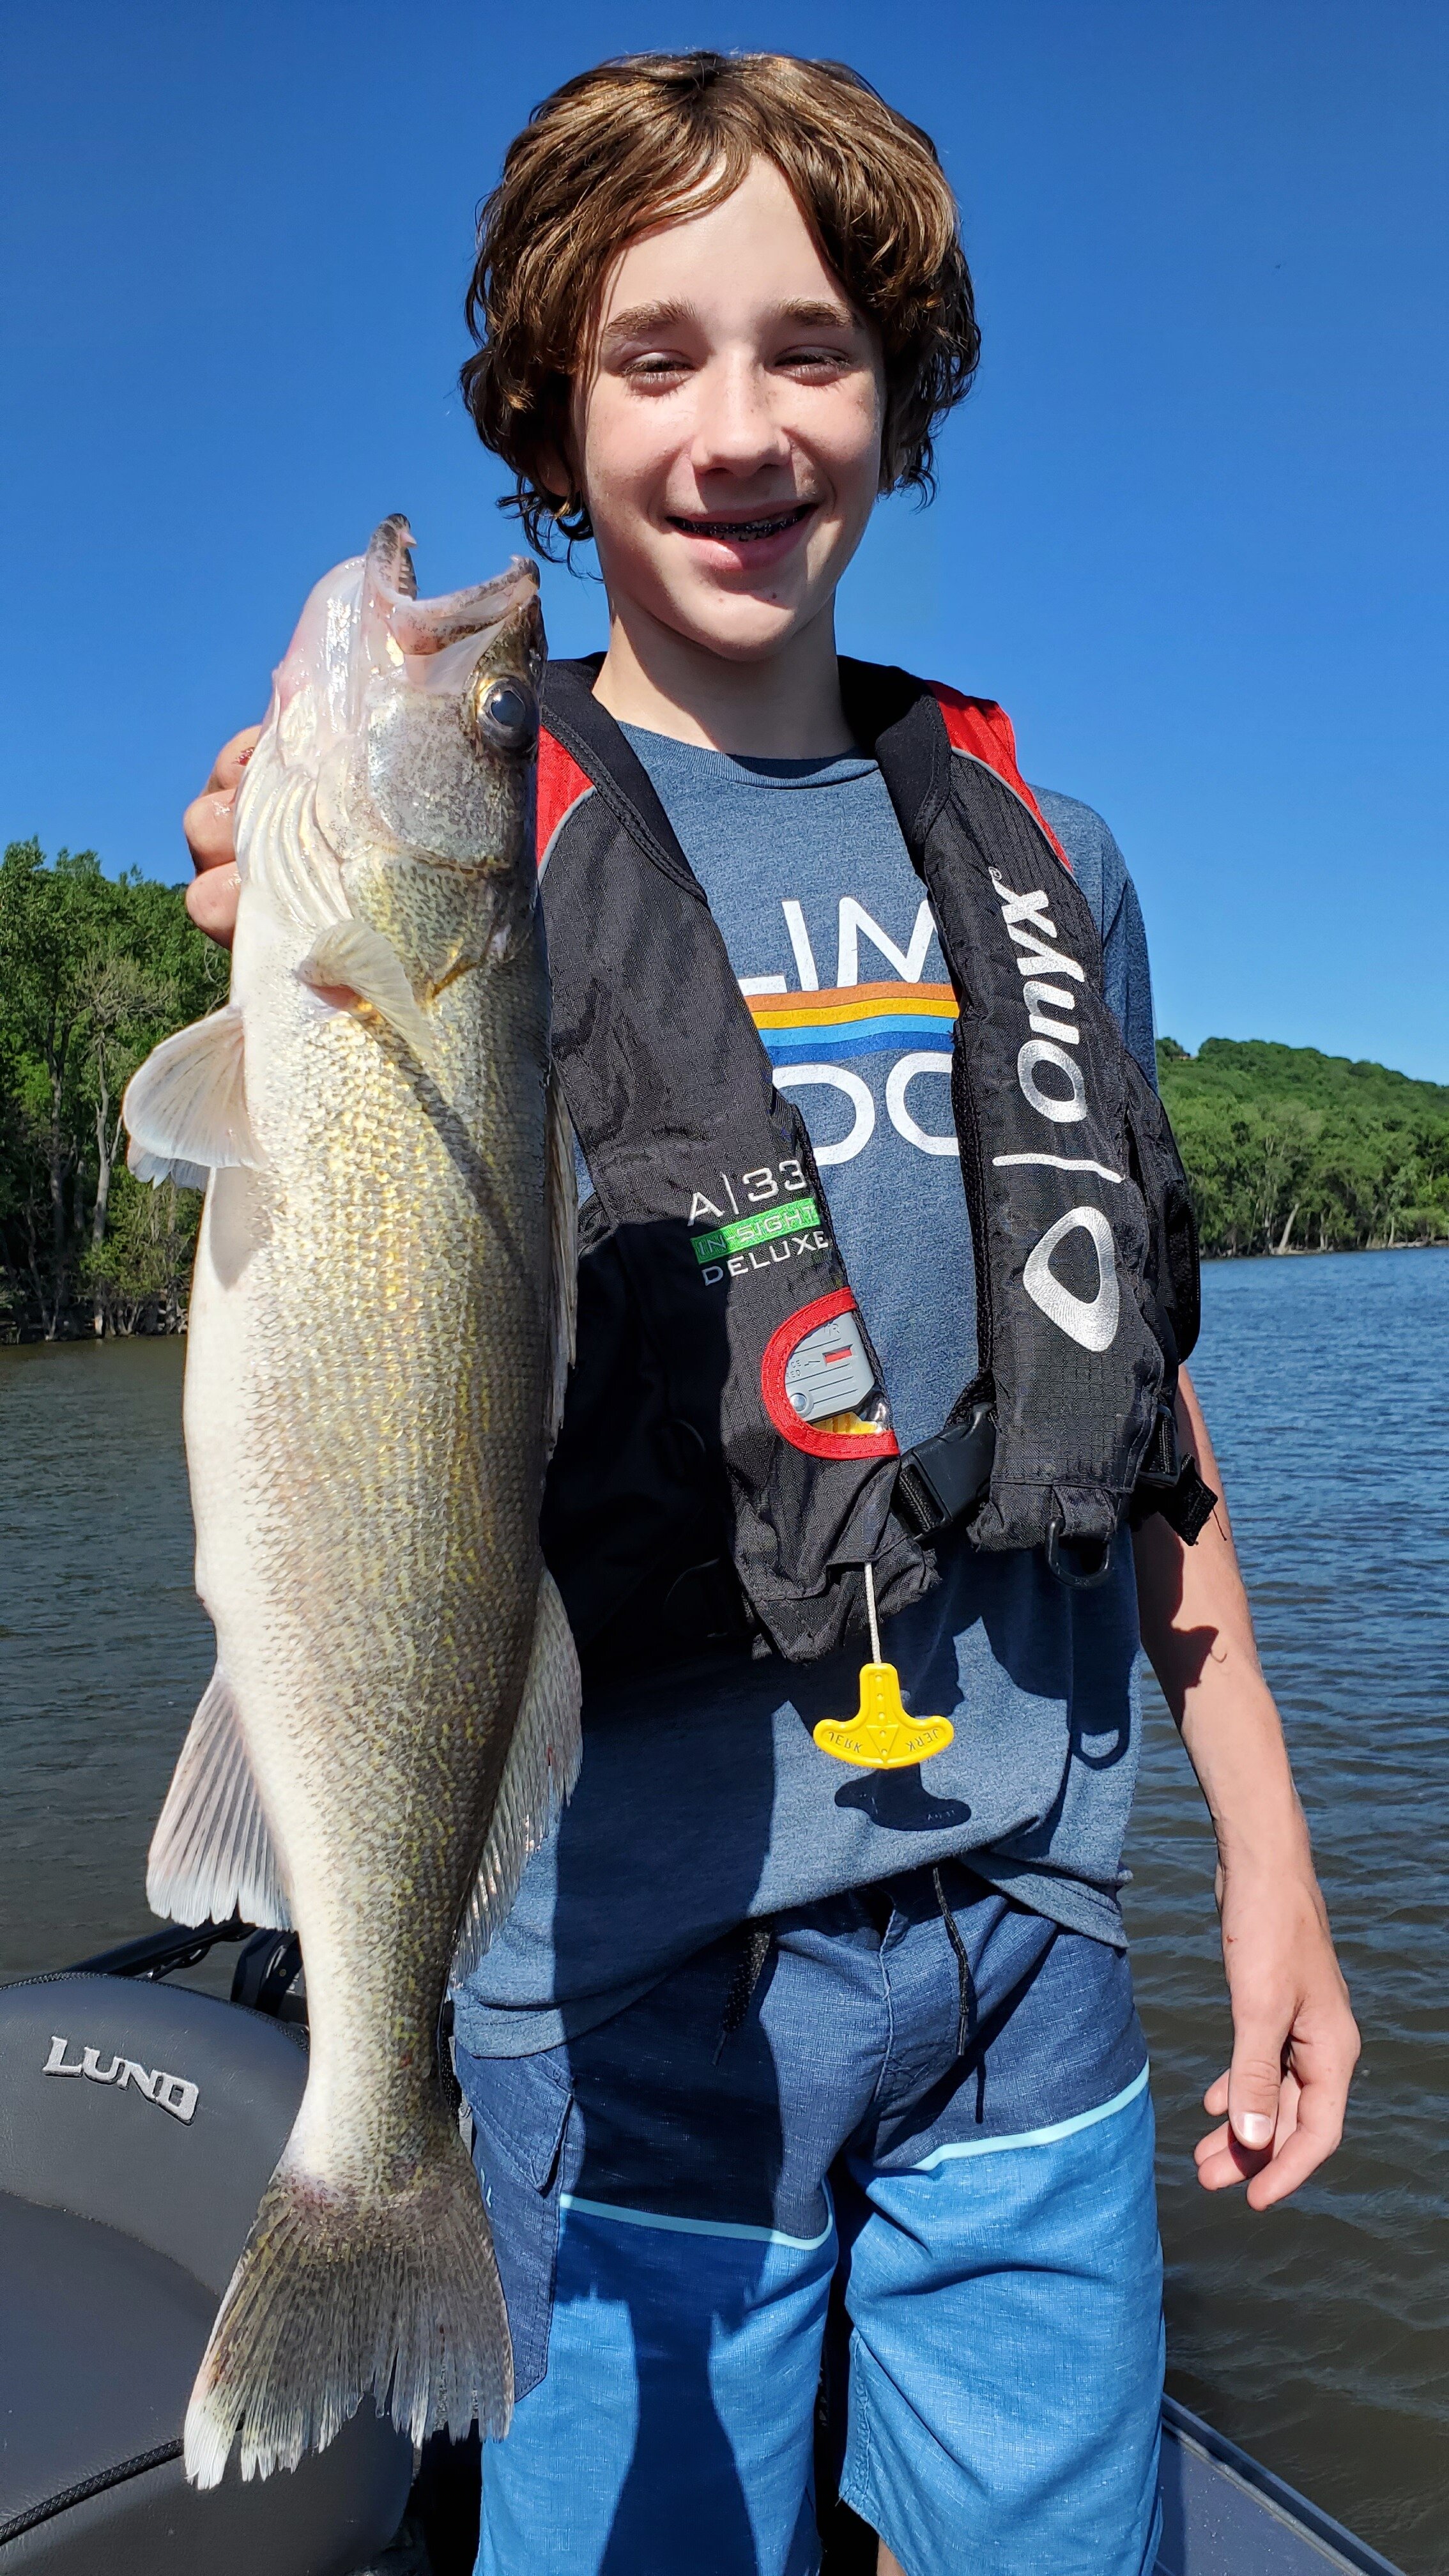
We were trolling Lake Pepin for walleyes a few weeks ago, which is believe it or not one of my boys’ least favorite types of fishing, even when the bite is “on.”  This particular day, it was most certainly not, but the wind was right, the water color was brown, and levels were up where they needed to be.  I simply knew that if we trolled long enough, we’d luck into a few fish and probably catch plenty of other species to keep them excited.  So despite the overall lack of morale in the boat, we trolled on.

Hours later, with plenty of sauger, walleye, white bass, sheepshead, and even a small pike hitting the back of the boat, the kids had a “meh” day.  Not because we didn’t catch fish, including a nice kicker ‘eye, but because it took too long.  The rods weren’t constantly bending.  Worse, my boys and a friend had to continually maintain near-bottom contact, free snagged lures, and generally pay attention.  I’m happy we could finally get some fish, and show them some action, but to be honest, I don’t think they cared.  Despite my very best efforts and preparations, they had way more fun jumping off the boat near the beach and swimming the last two hours of the day.  I had to drag them out of the water and back to the ramp.

It's a lesson I’ve lived and re-learned so many times, I could never keep count.  We (by “we” I mean “me”) take our children fishing, hoping to excite them with the experience, while clinging to childhood memories we still have.  The result is often a frustrated father and kids that are somewhat incredulous to the time and efforts their parents put into trying to make it fun, while often, failing miserably.  That day on the water, we should’ve quit an hour or two earlier and focused on swimming more than the fishing.  Again, I know better, but am hoping that by re-accounting my own adventures, it might strike a chord with other parents and grandparents looking to help their kids have fun fishing.  Here’s what I’ve learned, and need to be reminded of from time to time.

Swimming is a great distraction and trip-extender, leading to a better day on the water for kids and parents alike.

Swimming is a great distraction and trip-extender, leading to a better day on the water for kids and parents alike.

The younger the children in question are, quite simply, the more you’ll need in the boat to keep them busy.  When our boys were younger, that meant a heavy dose of snacks, drinks, and minnows to play with.  It also meant their own tacklebox, including baits with no hooks for a time.  Just like at home, they preferred to play with anything but the toys you have on hand.  That meant scissors, pliers, expensive rods, and whatever else the grownups were handling, so don’t be surprised if they dive right in to that gear.  A pet on the boat when possible is a great diversion for kids, as are fish you stuff in the live-well.  They can find a thousand reasons to quit fishing and check out what you’ve already caught, which makes basic techniques that catch-anything, a really great way to get kids interested in fishing.

Boats to kids can be like a prison after awhile.  They’ve explored the space, played with what they’re able to, and in minutes to hours, can feel like they’re trapped rather than trolling.  That makes beaching the boat and exploring, even at the landing, that much more important.  If there’s some public ground, a beach, or even just something cool happening in the shallows, take the time to share it.  Let them check out turtles, play with frogs, and try to fish off the dock.  Speaking of, dock fishing (from the dock) could be my children’s favorite type of fishing.  They can run up and down it, fish a larger area, and drop the rod to swim or play whatever, whenever.  That freedom at least for my kids has always been much more important than catching fish.    

Now that my boys are older, ages 13 and 15, they’ve got much more patience for the fishing portions of the trip.  They can handle a few hours in the boat, and on good days, maybe even go the entire time.  That said, the very same things they enjoyed as young kids, they enjoy today.  Whether it’s checking out a fish in the livewell, pounding all the snacks I can haul in a boat over the first 15 minutes of the day, or trying to catch turtles so they can check them out a little closer.  That kind of thing can be tough for dad or grandpa to take, as so often fishing is about timing.  Time of day, locational timing, and the perfect pass or cast that’s fouled or missed before the opportunity has passed. 

On the last trip, the only moments I missed or let past were the ones I should’ve yielded more to them.  Some white bass were busting the surface near a shallow point, and rather than continue to troll walleyes (we just boated a 20”er), I continued on.  Big fail dad.  While I don’t know that we would’ve caught them, I certainly have in those situations before, and it’s a great time.  Like I said, though I’ve learned this lesson may times over, it’s good to keep reminding ourselves why they come out to fish in the first place. 

Kids don’t have the same illusions and prejudice we have for certain species, presentations, experiences, or the way it’s “supposed to be.”  They just like bending a rod and feeling a tug on the line.  When they’re tired, they lose interest.  When they’re hungry, they want to eat.  When the sun is hot, and sometimes even when it’s not, they’d rather be in the water.  A fish on the line is cool, but so is admiring the one they just caught in the livewell.  As my kids grow older, the balance is definitely moving heavier on the fishing end, but there’s no need to try and make pros out of them just yet.  If and when they want to fish more seriously, someday they can take that up and I’ll certainly oblige.  Until then, I’ll keep remembering to let them be kids and enjoy whatever part of the experience speaks to them most, if you do too.

Bleeding Fish - How to Make Any Fish Taste Better

20170806_173552.jpg

Over the years, I’ve been shown by other anglers a number of ways to make fish taste better.  Nearly all of them involve drawing blood from the fish by washing, salt, or general care of the catch before ever getting to the filleting stage.  It’s a fascinating topic, as everyone seems to have their own family traditions or guide-tested tactics.  Yet, fish have been a manner of sustenance for tens of thousands of years, so surely there must be some deeper roots to a perpetually interesting subject.    

Years ago now, I caught the tail end of a great cooking show called “Mind of a Chef,” where Chef David Chang toured the famous fish market in Kyoto, Japan, explaining an ancient technique in fish preparation called “Ike Jime.”  It was a more complete version of various methods I’ve been shown, where the fish is quickly brain-killed, its spinal cord is severed under the gills, and the tail portion is cut open to insert a wire down inside the length of the spine.  The seemingly gruesome process is done quickly and humanely, to first quickly dispatch the fish and stop brain signals from tensing the muscles moving forward, then bleed the gill portions of the fish, and finally, to detach nerve endings that still may be sending signals from the brain and through the nervous system.  The carcass is then put in an ice-water slurry to bleed out, as the fish naturally expels its blood. 

It’s a technique that’s been deployed successfully for many hundreds and perhaps thousands of years, on an island that treasures its fish.  It’s quickly deployed (think seconds), and is followed precisely to provide the world with sushi and sashimi-grade fish of various species.  While we may not be as interested in performing the full process, or even require care of this caliber to have a simple fish-fry, there’s a great deal of scientific merit to the process itself.  Namely in the taste.

Food science research has proven in tasting and physical labs that this method of fish care simply produces a better tasting fillet, again, primarily because of quick blood removal.  Blood serves as a nutrient rich food source for bacterial growth, so when removed, there’s less chance of off-putting tastes or unsafe bacterial growth.  Additionally, Ike Jime more humanely kills fish and its nervous system more quickly, delaying the onset and amount of rigor mortis.  That small difference leads to firmer, better textured fillets which also contribute to taste improvement.  It’s one of the reasons that the same fish caught in many oceans around the world never make sushi-grade. Most of the fish markets over there keep the fish alive and swimming, where Ike Jime is practiced just before presenting to sell. When cooked same-day, it apparently leads to the optimal timing for the best tasting fish.

So what’s your average angler to do when wanting a great tasting meal of walleye, bluegills, or crappie?  To me, the answer involves a small, but simple portion of the Ike Jime process in your livewell, about 15 minutes or so before you plan to clean the fish.  Brain stab your fish, then turn the fish upside down, and take a knife or even better, my favorite game shears, to cut the small portion of gill and connective tissue that meets at the “V” of the gills, all the way down to the spine.  Here’s a quick video if you’d like a demonstration - https://youtu.be/aFFJtbuYHzs

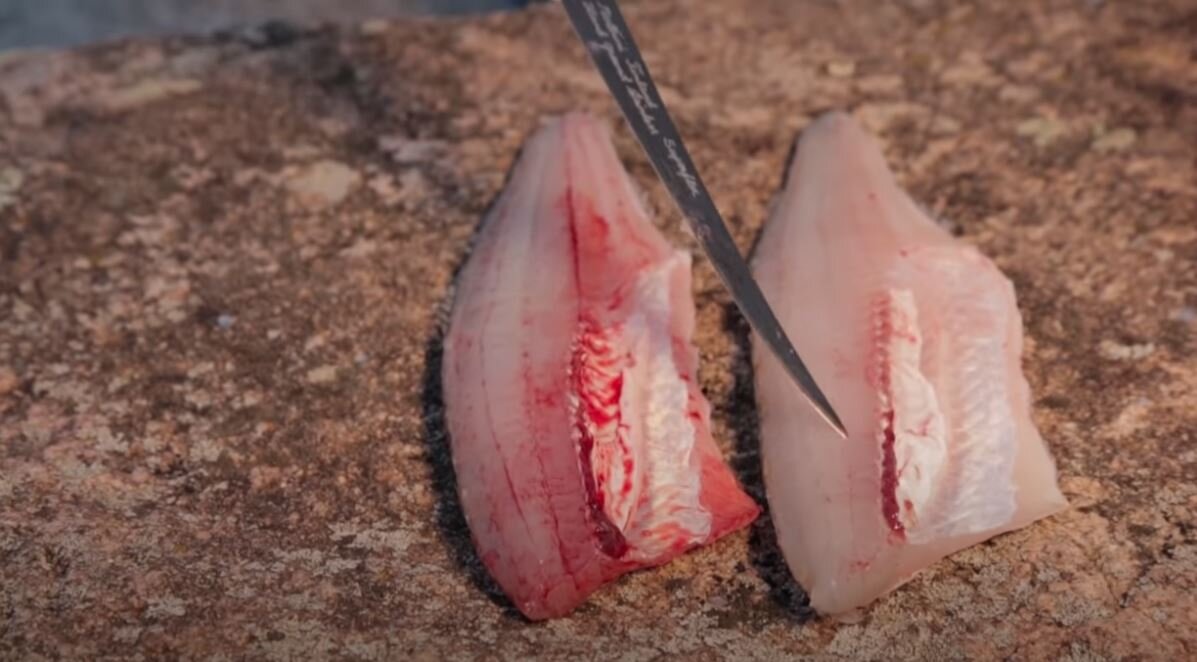
Fillet on right has been bled, and an un-bled fillet on left for comparison.

Fillet on right has been bled, and an un-bled fillet on left for comparison.

Perform this cut just before you make your run back to shore, put the fish in your livewell, and run the recirculation to pump bloody water from your well.  The fish will expunge blood from their fillets during your boat-ride, and when you go to clean them, the result will be a nearly snow-white fillet, sans a bit of blood immediately near the top of the fish’s rib cage.  Especially if you’re eating the fish soon thereafter, there’s no better way I know of to fillet and eat fish.  The result is always a firmer, tastier fillet than any other method I’ve tried, and I promise you’ll wish you’d done this sooner.

I’ve never tried the full method of cutting open the tail and inserting piano wire or other firm wire down the length of the spine, though I’m sure it helps or folks wouldn’t have gone through the trouble of doing so for centuries.  That said, for at least my purposes, it’s a step that’s too time consuming given how good the blood removal goes, and resulting taste is.  Speaking of, don’t trust advice regarding leaving blood, slime, or other “natural” portions of the fish on your fillets.  I’ve heard a number of times that “I want to taste the fish and that gives flavor,” or “You’re removing all the taste,” but those suggestions have fallen flat, and fishy at least to my taste buds.  In absence of this technique, a quick rinse of each individual fillet (that part is important), followed by a saltwater solution to draw out blood, then a soak in milk has been the next best method for me when dealing with un-bled fish. 

So give bleeding a try the next time you’re looking to keep a fresh meal of fish, as I’m betting it’ll be something you continue to use moving forward if you don’t already.