The Move Offshore

It’s been a great early season thus far.  A delayed spring and rollercoaster early summer has kept walleyes primarily shallow.  I write this, one-week removed from a great shallow water bite that was only getting better as we left.  While we had some wind, it increased throughout the day as we drifted leeches over rock clusters in 10FOW on Leech Lake.  We’d get a few fish a pass, and each drift was really only a few hundred yards.  Anglers deeper than us weren’t doing much, while our graphs and bent rods were showing hungry fish as shallow as 8 feet.  We fished a few of the big main-lake points, and generally caught fish in most of the places we tried.

That pattern will continue with resident fish, but begin to be more sporadic, requiring good wind over a length of time to push those fish from the depths into shallow water feeding mode.  Yet as one pattern fades, another kicks into high gear, and walleyes in the upper Midwest are already starting their summer movements to deeper off-shore structure.

Water temperatures that build into the high 60 and 70 degree marks will definitely get fish moving, and that usually coincides with a few hatches.  Bugs crawling out of the deep mud get rafted against main-lake structure, and signify some of the initial pushes to offshore humps, bars, and reefs.  It’s often when casual walleye anglers, or those who see early mixed bags of walleyes with crappies and gills, stop catching them.   

Anglers don’t always follow, sometimes because they’re not required to.  This is a dynamic time of year as the summer food chain ramps up production.  That means anglers don’t always have to look deep to find fish, and several patterns can be going at the same time.  Shallow weeds and breaklines will hold fish too, but often those fish aren’t as concentrated – or predictable – as the offshore ones.  Wind will focus their locations even moreso, as fish concentrate efforts on the side of offshore structure that collects bait. 

The other advantage to fishing main-lake structure during this time of year is that with electronics, you simply have more observational tools at your disposal.  Fish at depths greater than 10-12 feet or so are less likely to spook due to overhead boat traffic.  Even in exceptionally clear systems, you can easily graph fish in 10 feet of water and deeper, especially when there’s a bit of chop on the surface.  While side-imaging is a great tool found in modern electronics as well, these fish are often buried in weeds or other cover.  Deep fish cannot hide from traditional 2D sonar or down-imaging as well, not to mention, you tend to be more certain that what you’re viewing is walleyes if they’re belly-to-bottom sonar targets.

Of course, electronics also means mapping, which is a key tool for your walleye-finding arsenal.  During this time of the year, I’m looking for wind-blown edges of offshore structure that have good access to deep water.  Specifically, I target points and inside-turns that serve as funnels for movement from the depths to the shallows.  Especially inside turns are super-highways of fish migration during low-light periods.  During cloudy or windy days, these “chutes” hold fish throughout, and allow you to keep the bite going during daylight hours. 

Good mapping and quality sonar go hand in hand, as in a perfect world you’d locate ahead of time a number of likely spots on the cartography, then use your sonar to confirm or deny the presence of schools of walleye.  Picking a spot, seeing fish on the graph, then catching said fish is an activity that really helps build the necessary confidence to use your electronics well.  Rinse and repeat long enough, and you quickly learn what to be excited about, and what to pass over on the way to greener walleye pastures.  Trusting your sonar is paramount to the process, and only happens after you’ve completed that cycle a number of times.

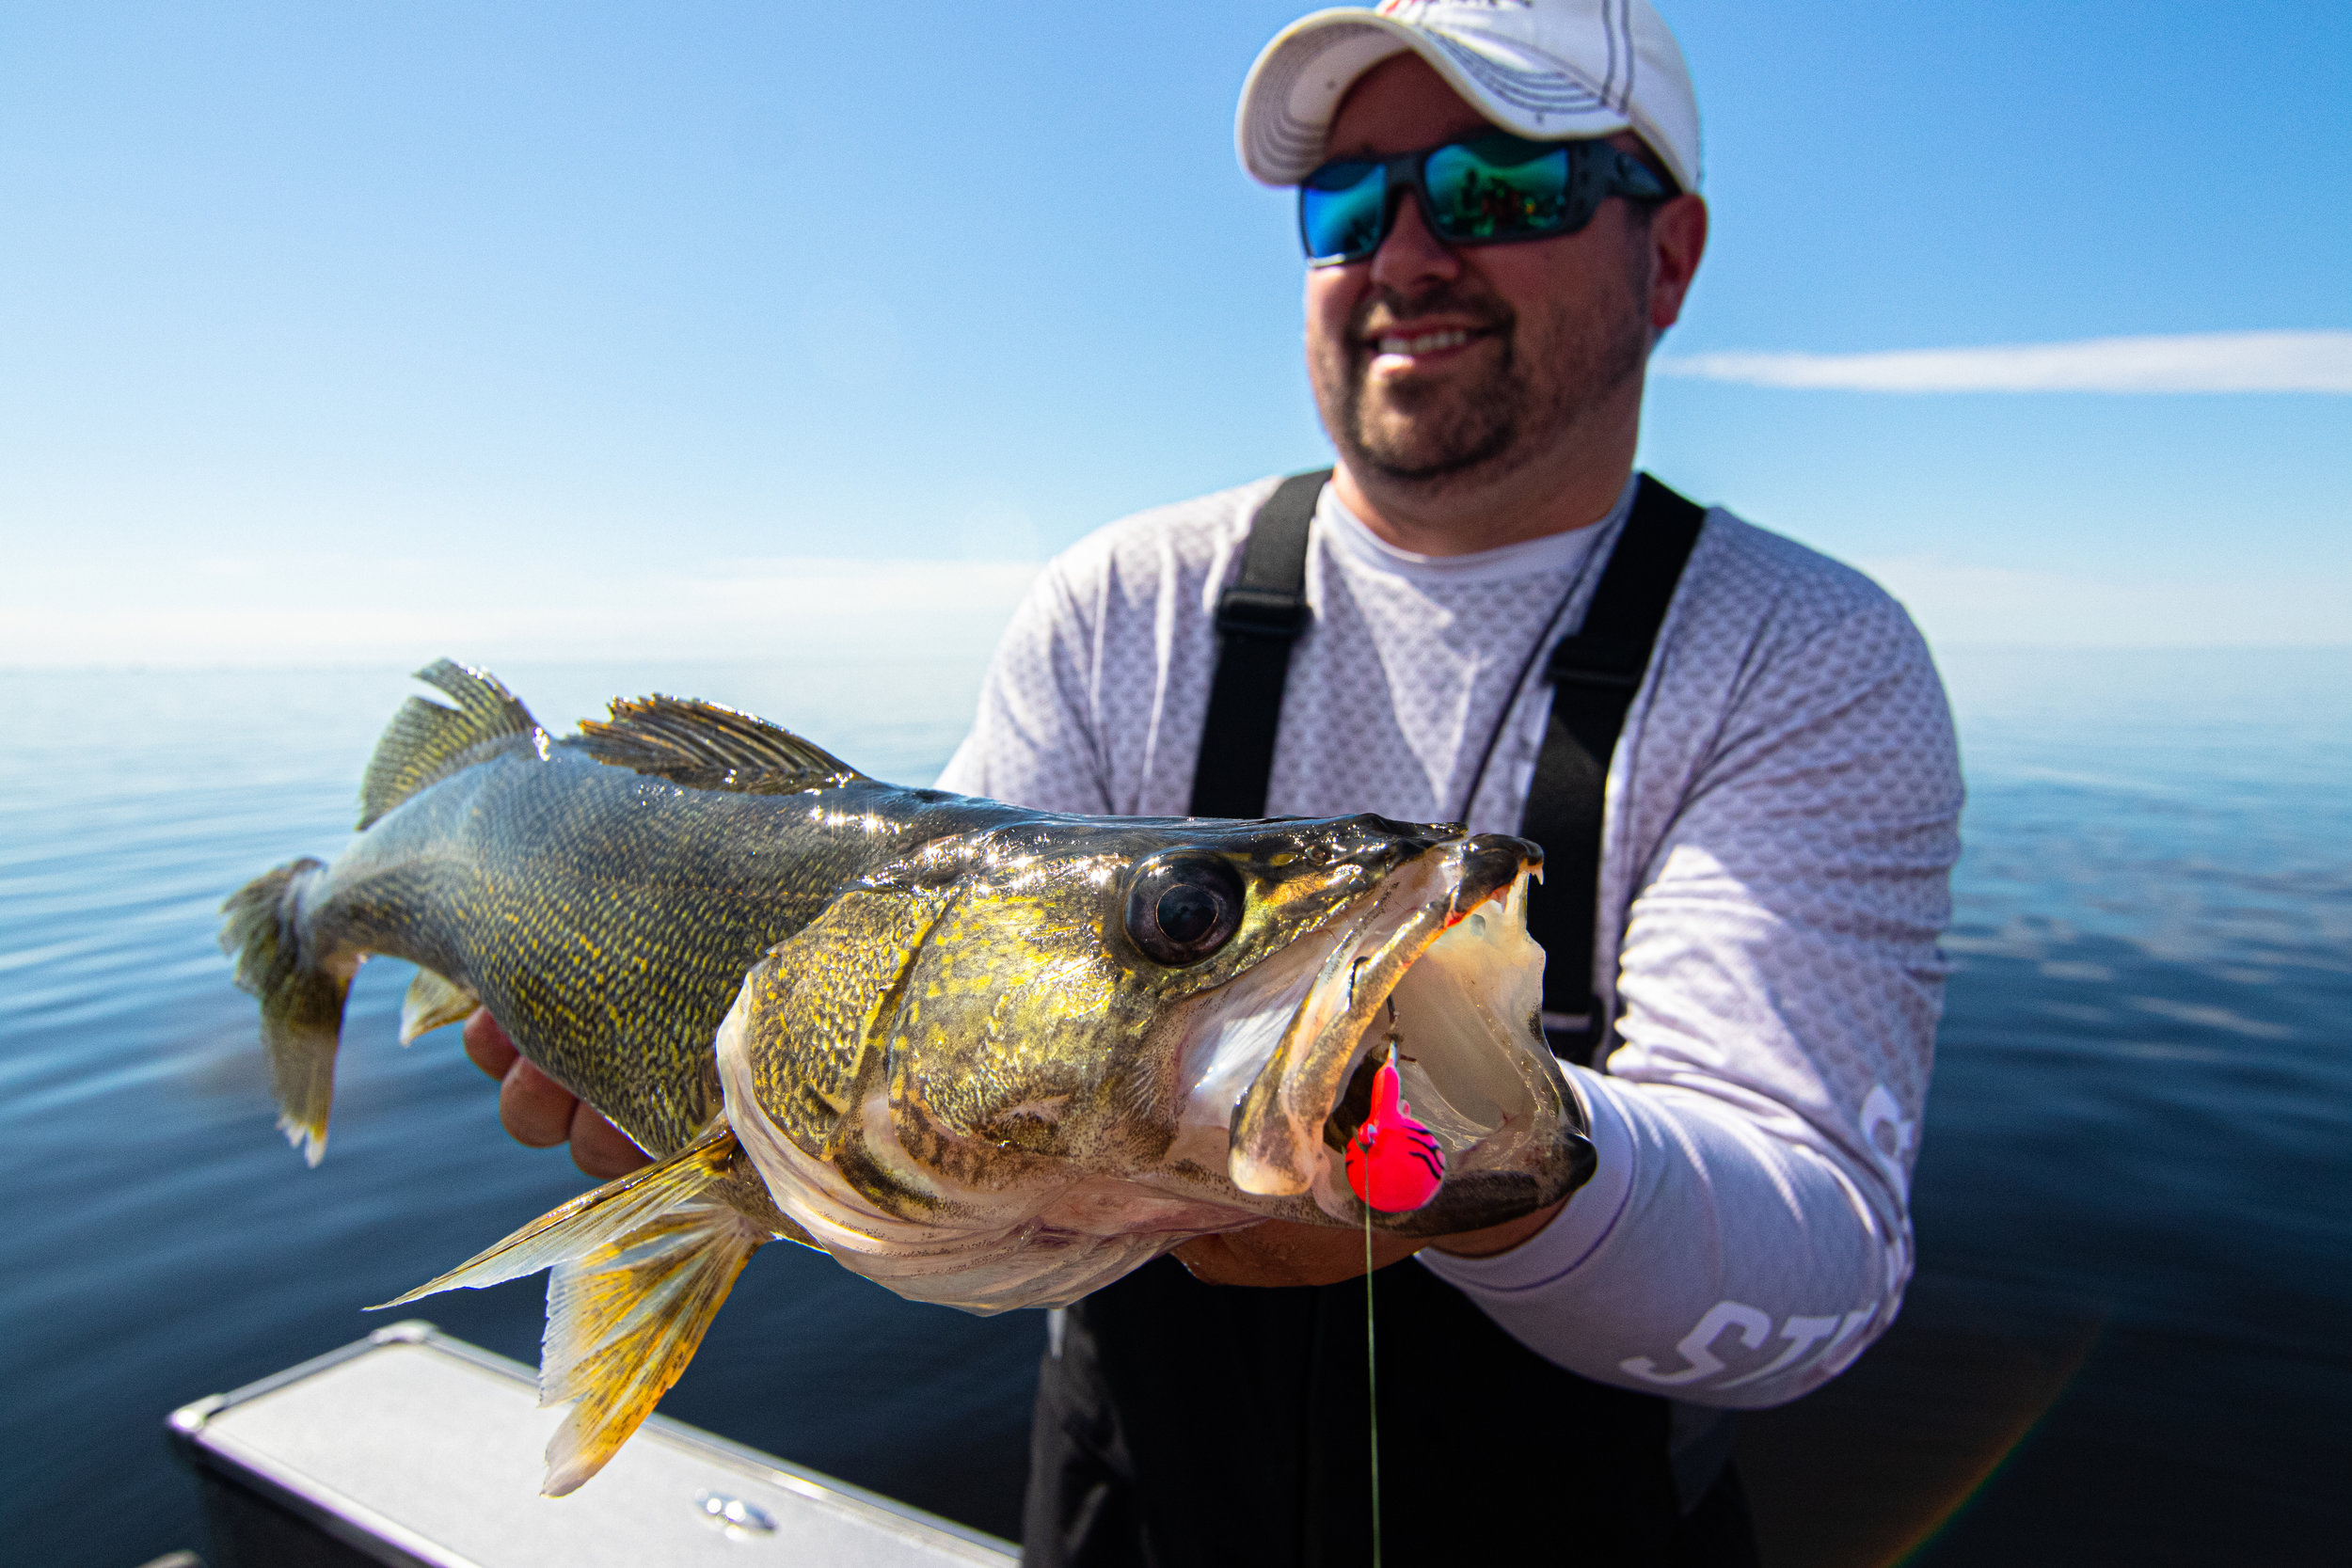
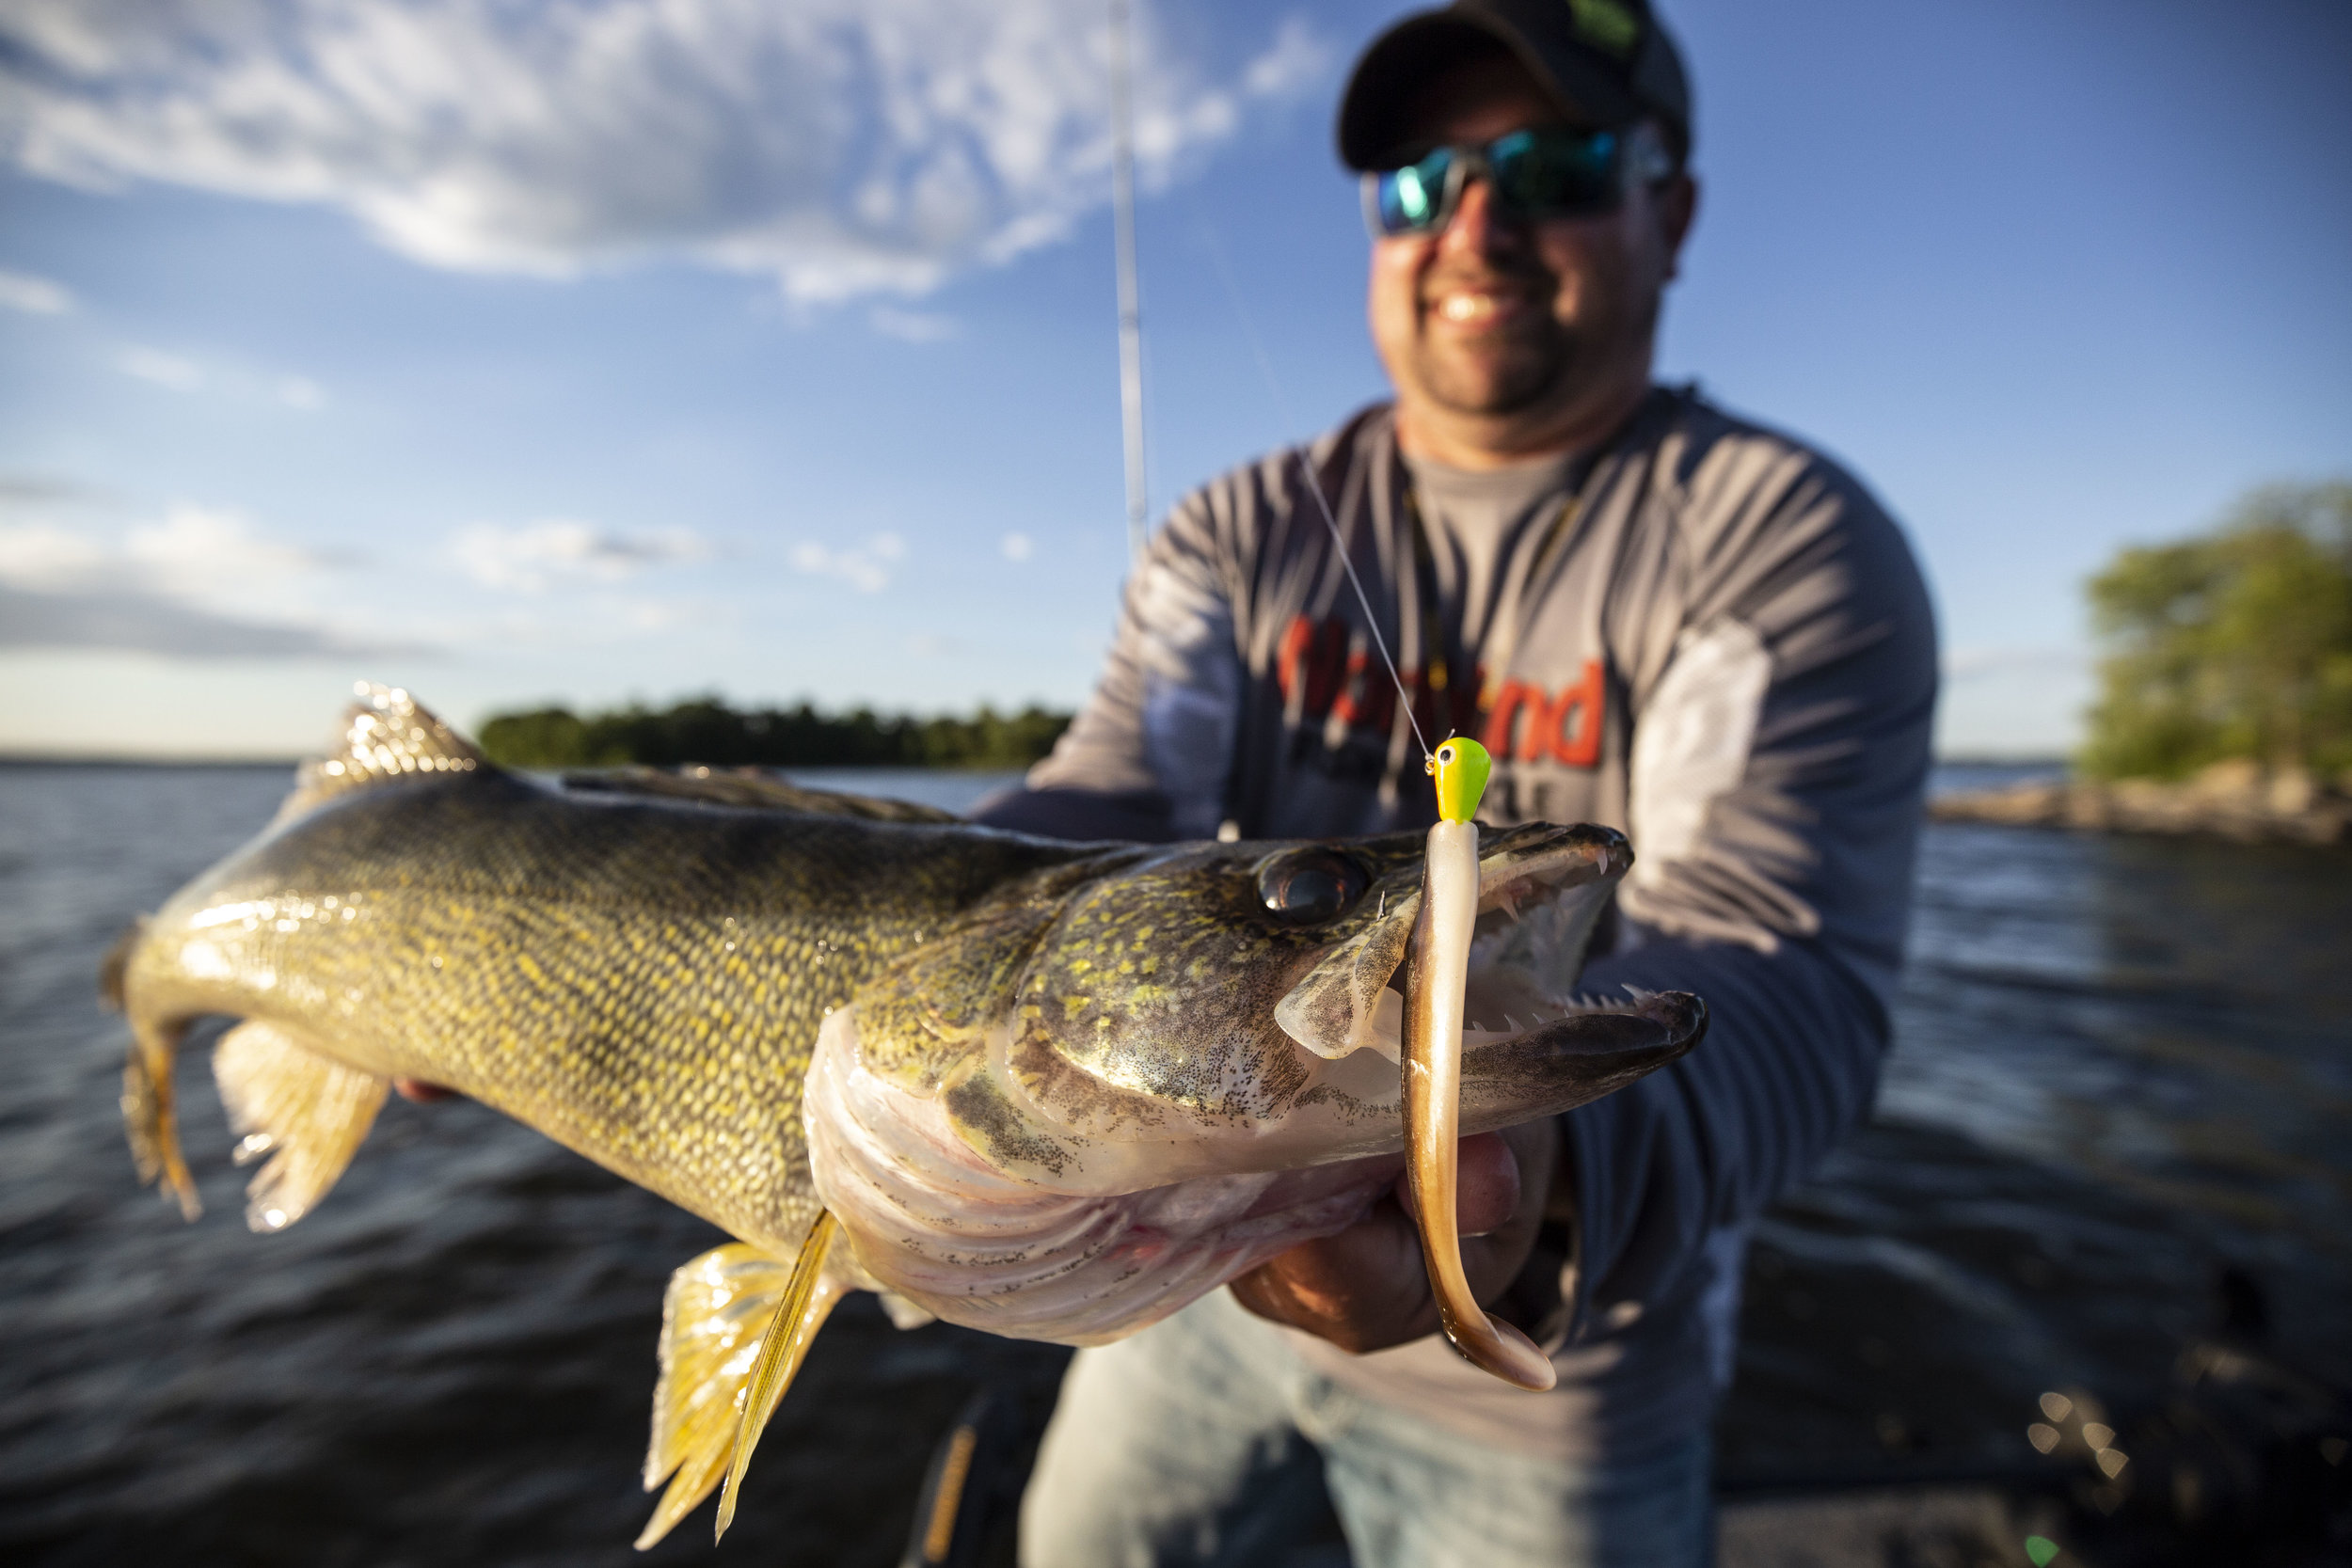
Do keep in mind that there’s a number of ways you can fish walleyes on structure.  I like to take note on the electronics of their position, number, and density.  Walleyes balled up in tight groups on precise portions of structure call for vertical or near vertical approaches.  Vertically jigging with bait, Jigging Raps, or slip-bobbering these fish would be the order of the day if you’re seeing tight schools of fish. 

Fish spread out along the edge of a large sunken island would conversely call for a more mobile approach.  You could rig live bait, pull spinners, or even crankbaits to cover more water and put more offerings in front of more fish.  There’s not a wrong way to do it provided you match what you’re seeing on sonar to the techniques you’re using.  Some methods are more efficient and productive than others, but that’s the part of the puzzle-solving which makes walleye fishing so rewarding. 

Joel Fire-Ball Jig 1.jpg

Bonus June Boom

Photo Credit - Sam Larsen

Photo Credit - Sam Larsen

I’ve written before about what I consider to be in June, the most favorable month of the year to fish period.  It’s nature’s perfect storm of conditions that begin a new season each year in the upper Midwest.  Biological activity is at an all-time high, with fish, bugs, birds, and beasts of all kinds hurriedly carrying out early season rituals in your average lake or river.  Predators, of which even panfish could be considered, eat other living things by definition.  As winter and spring’s hangover begins to wear off, everything is hungry.  To make matters better for you as an angler, only the first few hatches of the year are coming off, and there’s little to no availability for young of the year perch, minnows, or other prey for these post-spawn fish of all species.  Sure, any body of water is going to have some supply of baitfish, but the point is that we’re not to July and August where a fish’s next meal is just a flick of the tail away. 

This year, we’re in a bonus round of June fishing, because not as much of it happened in May.  Cooler than average air temps and fronts brought resultant water temperatures, and with them, fish that didn’t play ball as well early.  That means, for those of you caught up in school, graduation parties, and lots of yardwork, there’s less excuses this year.  Pretty much anyone should be able to catch a fish now and in the coming few weeks. 

That’s not to say it’s always easy, as there’s still cold fronts, tight-lipped spawners and the like.  That said, no matter your quarry, now may be as good as it gets to cancel other plans and get some fishing in.  Typically, phenological indicators tell me when fishing can be good for certain species in my neck of the woods.  Tip-offs like blossoming lilacs signal spring crappies spawning in the shallows, and blowing cottonwood seed has usually meant some great topwater bass fishing.  Well those same indicators are happening this year as they always do, just later.  All of which may call for a change of tactics should annual fishing trips and traditional spots not produce the same way they usually do. 

If you do anything this season, consider turning back the clock a few weeks and think about what your species of interest started off their season doing.  Whether it be crappies, pike, muskies, or walleyes, the answer is likely spawning.  If you’re not finding those fish in their normal haunts, consider backtracking to likely spawning sites and just off of them.  Most of these species should be post spawn in all but the most northern extreme areas. 

When it comes to bass and bluegills, there’s the real possibility that they may just be spawning.  If water temps are exceptionally cold still for whatever reasons, they may still be pre-spawn even.  Much differs north to south, and especially lake to lake where water temps can vary drastically, even between lakes next door. 

For that reason, let this be the year that you start a fishing journal and record some of those surface water temperatures.  Bear in mind too, that water temperatures can vary a great deal throughout an individual day, and then drop again with clear skies and frontal conditions.  Water temps measured at the end of a bright, still, sunny day may be elevated as much as 10 degrees from a morning reading.  For that reason, it’s good to note a water temperature range if you’re out on the water for more than a few hours.  Even better, note what you were finding in which water temperatures.  One bay for example may have spawning muskies in 60 degrees, paired up and nearing post spawn, while another bay in the same lake with more rocks and less weeds may be mid 50’s and fish are pre-spawn roamers.  

If you’re not familiar with the spawning and post-spawn movements of your favorite species, never fear, the internet is here.  You’d probably be unsurprised to hear that not everything you may read there is spot-on, but by paying careful attention to reputable sources, many of you can take five minutes and a sandwich to figure out what stage of the game your species of interest may be when out on the water.  Of course, still nothing beats old fashioned observation on the same body of water year after year.  Sure, nothing is the same from year to year, and you can have a lot of confounding variables, but experience is the same thing that made grandpa as good as he was. 

So fish fearlessly, even quickly.  Know that given even reasonable weather there’s biting fish somewhere on the lake you’re fishing.  If not, switch lakes, as this time of year is too good to pretend like it’s August.  Whether it’s toothy critters or what they’re eating, enjoy some bonus June boom time this year as I’m thinking it’ll extend well to the end of the month, and maybe even July in northern portions of the Midwest.  Take a kid out fishing, and try some new baits, spots, lakes, and species.  There was never a better time to gain confidence in anything new than this month.

Fencelines and Field Birds

Scouting fencelines is often the difference between being close, and close-enough.Photo Credit - Matt Addington Photography

Scouting fencelines is often the difference between being close, and close-enough.

Photo Credit - Matt Addington Photography

Early season turkey hunts usually require fooling more than just the big strutter of the group.  Toms are usually glued to their hens this time of year, and those jennies are quite the asset to any longbeard’s hope for a long-life.  The first line of defense is always their eyesight, which is sharp enough for a single bird.  Take a dozen or more of them in a group, each acting as a sentinel that’s peering with lazer-focus at anything, and I do mean anything, that looks out of place.  Add to that the fact that most hens who are attached to their men, don’t rather like another upstart female offering sultry squawks to their boyfriends, and you’ve got a challenging situation.

This challenge is multiplied in a field situation, where we so often hope to sit during the initial parts of any turkey hunting day afield.  That legendary eyesight is twice as sharp in the wide open or at distance, especially when bright sunny mornings offer few shadows in which to hide.  This makes it rather impossible to move on birds that may spend hours in front of you, but woefully out of range.  It’s also why you should choose wisely as to where you make your first stand on any field hunting opportunity.  Most times, that location revolves around a fence – a simple barrier that turkeys will cross at will, at least until you need them to.

Growing up in Southeastern Minnesota, most of my hunting experiences consisted of crossing several fencelines per day, just like the turkeys, as you went from woodlots, to pastures, to crop fields.  Over time, and through scouting, you came to find places in the fence where it was a helluva lot easier to cross, while torn pants and bruised egos offered proof to the spots where it was difficult.  Again, just like the turkeys, I crossed where it was easiest.  It’s amazing to me now, that after a few decades in the woods, how so many generations of turkeys have over the years crossed a fence at the exact same location.  However, it should come as no surprise as these are logical pinch-points that focus turkey movements across the landscape.

In some of the plains states I’ve hunted, fences can be even more important, as a hunt years ago in Kansas taught me.  It took us a few days to catch on to the gig, but those birds offered us two chances to tag out – after fly-down and leaving the general roost area, and once again that same evening as they headed back to it.  The remainder of their day was spent in wheat fields larger than you could see across.  Birds worked in massive groups that utilized one of two different fenceline crossings, and though we observed the location twice daily, it’s amazing how similar one fence post looks like the other.  We found out the hard way that close wasn’t close enough, and we couldn’t call even the satellite toms away from that clan.  You had to be within gun range of the exact crossing, which sounds easy until you’re trying to figure this out from binoculars on a 1,000 acre wheat field where everything looks the same. 

That story holds true throughout the Midwest, and everywhere else for that matter, as the number one rule of field hunting is to be right on the birds as they spill out onto the open-ground.  “Fence-post-accuracy” is what you need when selecting a spot, and your scouting needs to be precise.  40-50 yards off is too far in big groups, as you need a clear shot of a tom among many hens, and so often I’ve been close but not close enough as hens shield their toms and they work into the fields further and further away from you.  Precision counts here in a very big way.  In the past, I’ve even flagged a crossing with nearby brush, a broken limb, or really anything to give you the visual clues you need to be in the right place at the right time come opening morning. 

Rule number two is to never make them cross a fenceline if at all possible, which is probably better known from a general turkey hunting sense.  Growing up on the family dairy farm taught me that lesson well, with a dad that strung a full 4-strands of barbed wire on every T-post he ever met, usually tight enough to make you afraid the whole thing was going to blow up and send shrapnel flying.  Yes, I’ve hung many a bird on the other side of a fence, but even the most formidable fencelines have a weak spot somewhere.  Trail cameras make scouting easier these days, but even before them it was pretty easy to see turkey tracks on the leafless areas where birds would scoot under those fences. 

If crossing one-fence is bad, two or more is surely worse, but I hunt in a few areas where intersections of fencelines meet, creating an “X” that forces you to choose one of four quadrants from which to expect turkeys.  Of course you can hunt near the intersection of all of them, but usually birds end up coming from the direction you least expect it.  At least you’re close to them in this scenario, but even in these kinds of doomsday crossings, birds will often have a method to their madness.  Nothing beats scouting for these tougher-than-normal crossings. 

As callers, so often we fail at getting birds to cross these areas because they’ve been attracted on a semi-straight line to a barrier at a location they’re not used to crossing.  That’s why if I can visually see them and they’re heading even remotely towards my location, I won’t call to them until after they’ve crossed.  Let them negotiate a fence on their own time, and they’ll head through a spot they know and like to cross.  Excite them with a call, and even if they want to get to you, they somehow lose their ability to cross where they normally do, and you’ll more often hang them up.  I’d rather re-position on him and call to a place he wants to be, than force him to travel through a wall he doesn’t want to move through.   

Of course, there’s birds that will defy the rules, like a Wisconsin gobbler that fell last spring after crossing two different fences, ready to cross another before we toppled him at 25 steps.  I’ve also had birds fly over fences, hop through the middle of them, and scoot underneath as if the obstacle wasn’t even there.  Each tom is different, and desperate birds will do crazy things. 

Early season isn’t one of those times however, as options for hens abound.  Spend some time glassing those fields before you hunt, remembering that if you’re there too late, they’ll already be in the field and you’ll have missed where they cross.  Chances are that even if they’re working a particular zone in the field, they may not be later, especially if the hens lead toms away from your calling or decoys.  Be where they want to cross, and you may just be punching a tag before the sun tops the trees.  

Fishing Rod Selection - Technique Specific Applications

In the last article, we defined the terms “power” and “action” while discussing the benefits of specific types of each.  Those terms are fairly objective, which makes the next part of the process more difficult. The perfect walleye jigging rod if you will, can often only be perfect in the eyes of the beholder. Still, there’s a number of features in any fishing rod which hold for the angler, key advantages in any fishing situation; shallow or deep, walleye or bass, with lures light or heavy. That is why I will offer a few popular lengths, powers, and actions along with typical applications so you can have the right tool for the job.  No matter what your price point, we’ll focus on finding the right fishing rod characteristics to handle the task at hand.

It is surprising how many people select rods based on species alone, as if there were separate rods to use for bass or walleye or pike.  Instead, the focus should be placed heavily on technique and the interplay between length, power, and action.  Fishing rods perform best when fished with lure-types, and most importantly, lure weights, that fit the build and design of the particular rod in-hand.  This places an emphasis on situation-specific rods that place an emphasis on handling a certain scenario in the fishing world.  Again, you can use a screwdriver to knock out bolts, but a hammer and punch are far more effective.

Still, there are species-specific considerations, often based on tradition, that creep into rod design.  Take the split-grip phenomenon for example and how prevalent it is in bass rods.  Walleye anglers on the other hand, tend to lean more towards full cork handles that have typically been more commonplace.  Spinning vs. casting does also offer a few changes to the mix, as each of them fish differently for different fish species, with spinning being far more common for walleye, trout, panfish, etc., and casting rods getting the nod for bass, pike, musky, salmon, and catfish. 

There are far too many ways to fish for a list of all technique-specific recommendations, however, here is a few common ones that I feel will offer you a distinct advantage on the water, and get you thinking of the interplay between length, power, and action:

Pitching/Casting Jigs – Material – Carbon Fiber - Power – ML, M, Action – XF, Length 6’ 6” – 7’ - If there were ever a case where the best of the best makes a big difference, jig-fishing is where.  Better blanks have lighter, faster actions that translate to more hooks in more fish.  Pair common jig sizes fished to the range of weights that rod handles as listed on the blank.

Vertical Jigging – Material – Carbon Fiber - Power – ML or M, Action – XF, Length 6’ – 6’6” – Most anglers prefer the rod tip a bit closer to them when jigging over the side of the boat.  Line watching and overall management is far easier, while still having enough length to keeping big fish buttoned up.

Rigging – Material – Carbon Fiber - Power – ML or M, Action – Fast or XF, Length 7’ – 8’6” – Live bait rigging involves feeling a fish before it feels you, making Fast and Extra Fast (XF) actions perfect for the task at hand.  Riggers also have to manage the length of a snell boat-side as they net fish.  Longer rods do a great job of keeping the fish hooked up with a bouncing sinker and long leader lengths, though sometimes at the expense of feel in a big wind.  Choose accordingly.

Casting Crankbaits – Material – Carbon Fiber/Glass Blend or all Glass - Power – M - MH, Action – Moderate, Length 6’6” – 7’6” – Casting crankbaits happens for a variety of species, but the highlight of any good crankbait rod is some give in the middle section, hence the moderate action.  Crankbaits notoriously pull out of fish’s mouths if the rod (or line) doesn’t have enough give to let the fish engulf it in the first place.  The next key is pairing common bait sizes to the range of weights that each rod handles as listed on the blank. 

Trolling Crankbaits – Material – Carbon Fiber/Glass Blend or all Glass - Power – M - MH, Action – Moderate, Length 5’ – 10’ – Again, the key component of a good crankbait trolling rod is the moderate action and give that it offers.  You’ll see a very large range in lengths, and that’s because most trollers are trying to pair multiple rods at various lengths to cover the most water without tangles.  For example, many trollers pair 8’-10’ rods with a set of 6’ rods to be able to troll 4 lines un-tangled.

Finesse Jigging/Drop-Shot – Material – Carbon Fiber - Power –  L - ML, Action – Fast/XF, Length 6’6” – 8’6” – Fishing small baits for panfish, bass, or walleye, requires a blank matched to the weight of that specific jig.  Longer rods make for further casts of small baits, so consider going as long as your rod locker has storage for and you’re comfortable with.

These recommendations are only basic guidelines, as there needs to be some wiggle-room for hard-earned experience and personal preference to inform the process.  One last piece of advice is to buy the best rod you can in terms of price point, while adhering to the basic rules of length, power, and action.  Especially for light-biting fish, you get what you pay for in that higher price-point rods are typically lighter, more sensitive, and help you experience a technique in the best way possible.  With today’s materials and craftsmanship, you can get a good rod at a great price, but it’s not a sales pitch in saying that the net result of higher quality is more bites and more fish.

How to Clean Your Wild Turkey

joelknife.jpg

Turkey hunting can take you through the complete spectrum of extreme emotions.  From zero to hero, then back again.  Just when you thought the gig was up, and your opportunity was fading, you connect on the spring gobbler of your dreams.  After the high-fives, texts, and immediate calls to buddies are over, and a heaping plate of pancakes has been eaten, you should be thinking about what you’d like to do with your bird.  Well before the celebration even, you might consider just how you’d like to preserve the memory, and prepare the meat.

The good news is that you usually have a few hours, especially if the weather is anywhere south of the 50 degree mark.  Even in summer-like temperatures with an afternoon-killed bird, you’ve got a bit of time to decide how you’d like to prepare your bird.  In any scenario, keep him in a cool, shaded place, out of direct sunlight.  In most states, you’ve been required to legally tag him by now, but you also need to register that bird for your state fish and game department.  This is a crucial, and legal step, don’t forget to do it as wildlife managers rely on self-reporting of these statistics to help determine tag numbers and success rates.

If the weather is warm and you won’t have time to process the bird for a bit, at least remove the internal organs by making a small slice between the rear tip of the breast bone and the vent.  Reach in with your hands and remove the entrails, being careful to fully remove the heart, kidneys, intestines, and pesky lung matter.  Usually the lung bits nestle between the rib bones towards the front and bottom portions of the chest cavity, so it pays to run your fingers like a rake down the gaps of these ribs to pull out all the lung matter.  Especially if you’ll be cooking the bird whole, you’ll want this step done well. 

For me, the road forks at “to pluck, or not to pluck.”  An adult wild turkey sports somewhere between 5,000 – 6,000 feathers, and if you’d like to roast, smoke, or otherwise cook your bird whole, you’ll get the chance to pull out all of them.  I can tell you from hard-won experience that plucking a turkey is never as bad as you last remembered it, and goes quicker than you might expect provided you do so in the “sweet spot”; a period of time that persists one hour after kill time, and no more than 2-3 hours later.  Pluck too soon after you kill the bird and you tend to rip the warm skin when trying to pull multiple feathers.  Pluck too late, and you’ll find that more of the pin feathers stay with the turkey, making for a poor looking bird with inedible skin. 

Of course you can always scald a turkey to make plucking go more quickly.  This process involves removing the head and wing sections of the bird while you heat a large cauldron of water anywhere past 150 degrees or so.  At that temperature, you can soak the bird a good 20 or 30 seconds, but if you use boiling water, a couple seconds in the bath is all you’ll get before you start to cook your turkey.  Good kitchen gloves allow you to handle the hot bird and help with maximum feather removal.  I’m not a huge fan of scalding the bird, mostly on account of the extra materials and time it takes.  I’ll admit it probably does a better job than just my claws alone can, but I can do a reasonable job in quicker time without too much hassle overall. 

My process for plucking starts by timing it correctly, between one and three hours after the kill, and starts with removing the tail-fan, beard, and spurs for momentos.  To properly remove the tail-fan, collapse it and hold near the base above the vent.  It’s somewhat independent of the rest of the turkey’s body.  Grasp near the base, then slice between the vent and tail-fan base, then down to the backbone, being careful to leave some skin (with feathers).  It’s fine to come up the back a bit, as some of the nicest feathers for display come from there.  Pull the beard slightly, and cut just behind the waxy and fatty base, leaving just ¼ inch of that trim attached to the beard.  For the legs, straighten them, then cut the front of the knee joint and straighten firmly until you feel it dislocate.  Cut and remove the entire foot from here.

The tail-fan needs some careful attention and fat removal around the base of each feather, and there are some great online tutorials for this step alone.  Borax is the preferred preserving agent I use, and feet, beard, and fan each get a liberal dose while they sit and dry atop some cardboard in my garage for a few weeks.  Take a little bit of extra time here and you’ll always have options, but do it poorly, quickly, or both and you’ll find that bugs will get the best of your bird.

Remove feathers by the neck of the bird working back towards the breast and back.  I like plucking up to the wing joint before removing it.  Straighten the wing, then cut the webbed skin toward the open part of the joint before breaking it by hand.  From here, the knife does the rest of the work to fully remove the wing.  Continue until all feathers have been removed, and have a goal for this thing to be as pretty as a store-bought bird.  Remove any bird shot just below the skin, and if you haven’t already removed the entrails, do so now.  Lots of clean water is now required to wash your bird, inside and out until it runs fully clean.  If you have the opportunity to put it in some salty water and refrigerate overnight, it’s a good option.  My mother always preferred this with poultry and usually the salt both drew out blood and slightly brined the meat.

Of course you’re not required to pluck a turkey.  Especially when I’m traveling to hunt, it’s simply more convenient to pull back the skin and slice out the breasts.  The innermost portions of are the “tenders” and have a long, sinewy tendon that starts up near the wing joint and continues through the length of it.  I like to leave that tendon connected to the bird and slice the tenders off of it, both sides contain some of the choicest meat on the bird.  These are prime candidates for immediate cooking.  The legs come out easily by splaying them outward to dislocate the hip joints, then cutting between and down to remove the whole leg and thigh portion. 

Whole birds I wrap in freezer paper (several layers), tape up, and label well for the deep freeze, while breast meat I like to put in two layers of freezer bags.  Remember to label well if you are freezing, as different cuts deserve different treatment.  Breast meat cooks up very well, though definitely benefits from a brine of any sort to help retain moisture in the meat and add flavor.  The leg meat works really well when braised, especially in a crockpot.  Whole birds smoke very well, and can be roasted like your Thanksgiving turkey, but again, benefit from a stint in brine and continual basting. 

If all of this sounds like a lot, it can be, but the trick is to keep grinning.  Realize you’re among the lucky few who get to tag one, and take your time as you enjoy the process.